Integrate MailerCheck with Zapier
Zapier integration
Integrating with Zapier enables you to connect MailerCheck to 4000+ web services, empowering you to extend your email verification capabilities. With automated email verification, you’ll save time and money by filtering out invalid emails in real-time—so you’re only sending to real subscribers, always!
The email validation Zapier integration works with “Zaps”. These are automated workflows that connect your apps and services, no code needed!
A Zap is triggered by an event in an app. In the MailerCheck integration, this would be when a new subscriber joins your email list. The Zap then performs an action in another app. For example, it sends the email address to MailerCheck for validation and MailerCheck returns the email status in real-time, so that the appropriate response can be carried out in your app.
This means that every time someone subscribes to your email list, it will be verified in real-time. Pretty neat, right?
Now let’s take a look at how to get started with your Zapier MailerCheck integration!
Setting up the Zapier integration
Zapier allows you to connect your favorite web apps with MailerCheck for automated email verification. You can always be confident that the email addresses you’ve collected are deliverable.
Connecting MailerCheck to Zapier
-
1
-
2
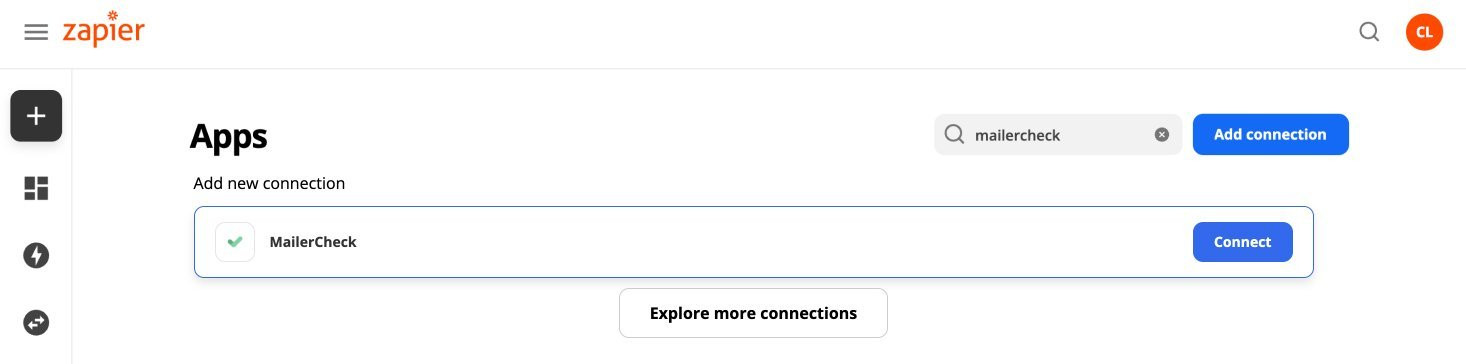
Once you’ve logged in, go to My Apps in the side menu, click on the search icon in the top right corner and search for MailerCheck. Click on Connect.
-
1
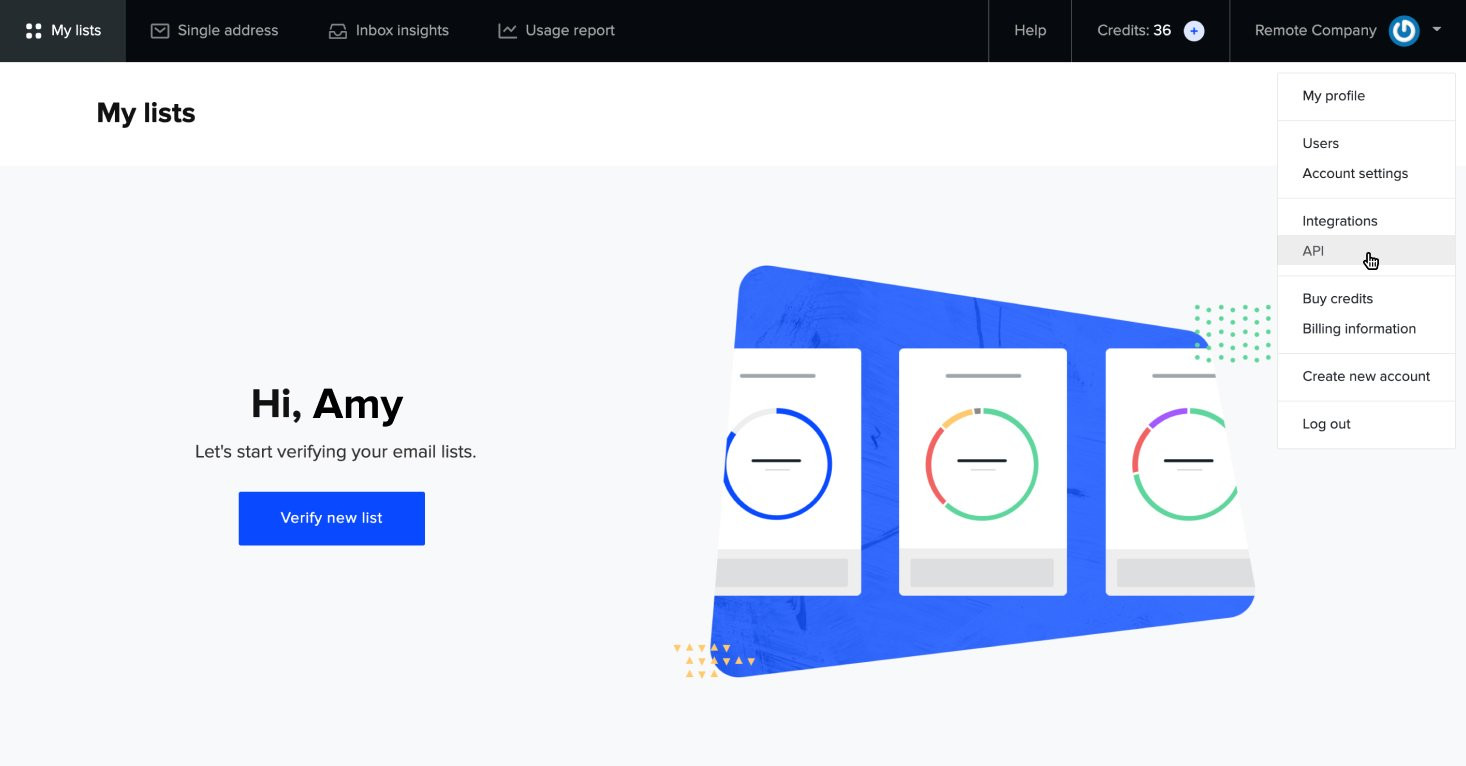
To complete the connection, you’ll need to generate an API token for your Zapier integration. Log in to your MailerCheck account, click on the account menu in the top right corner and select API.
-
1
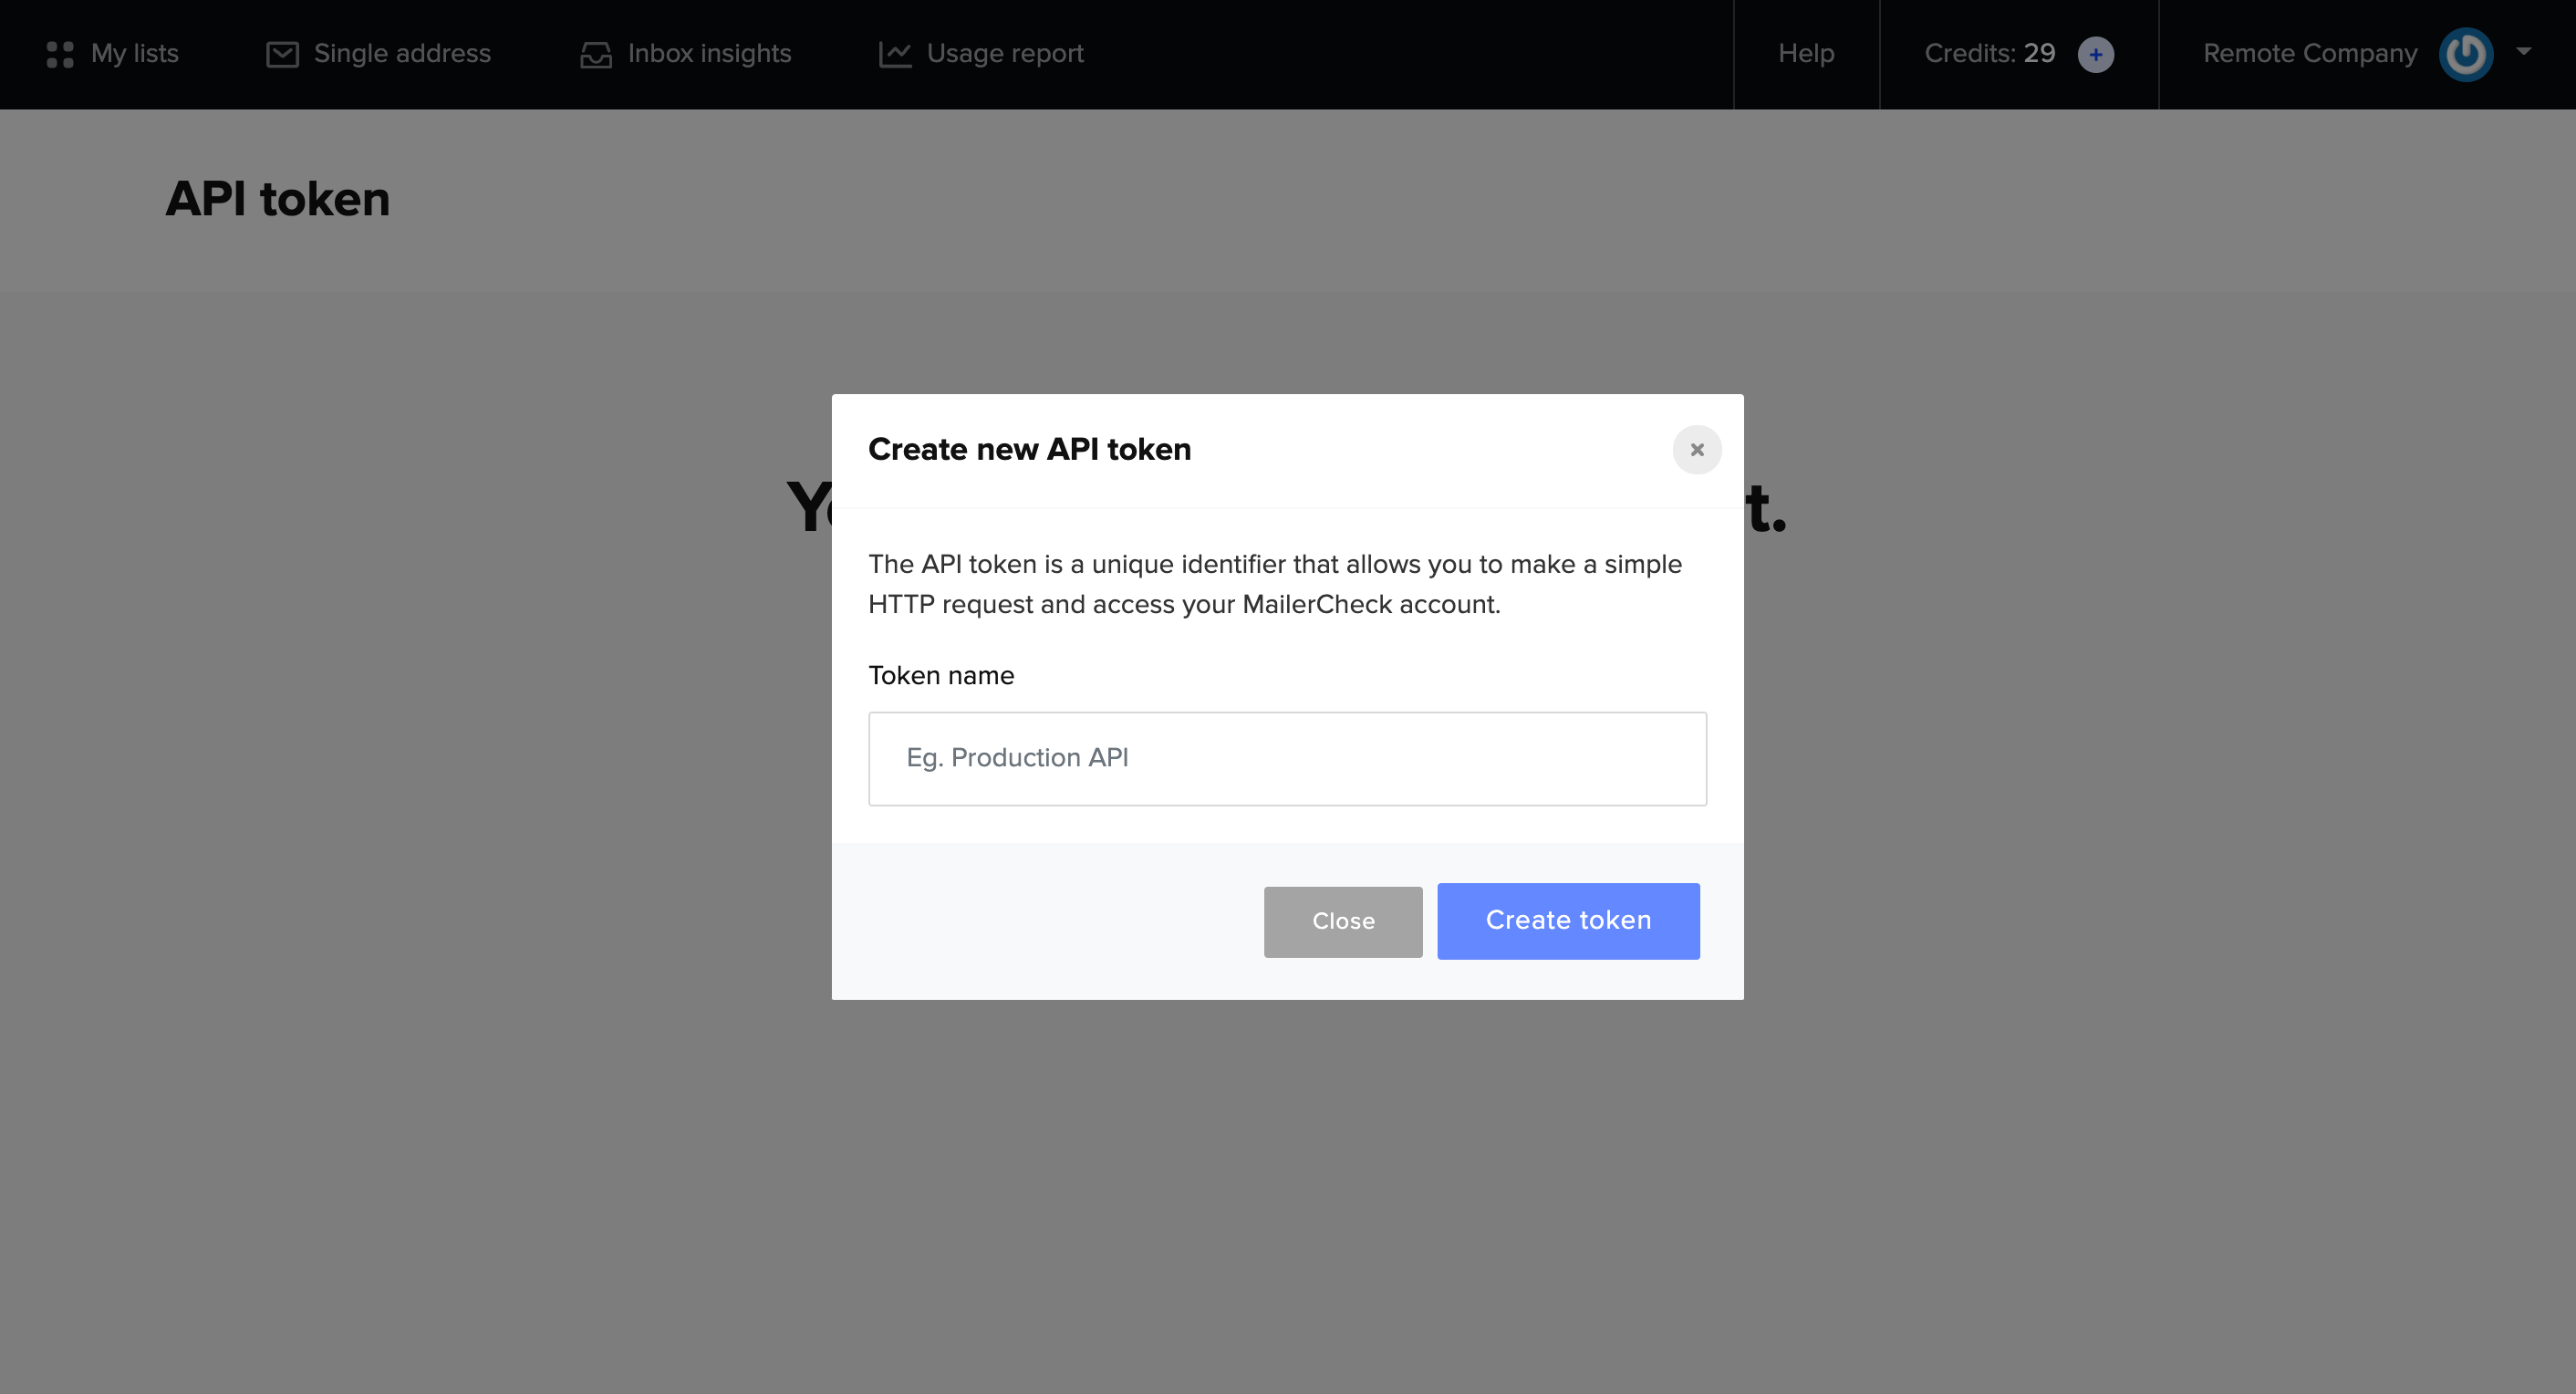
Click Generate new token, give your API token a name and click Create token.
-
1
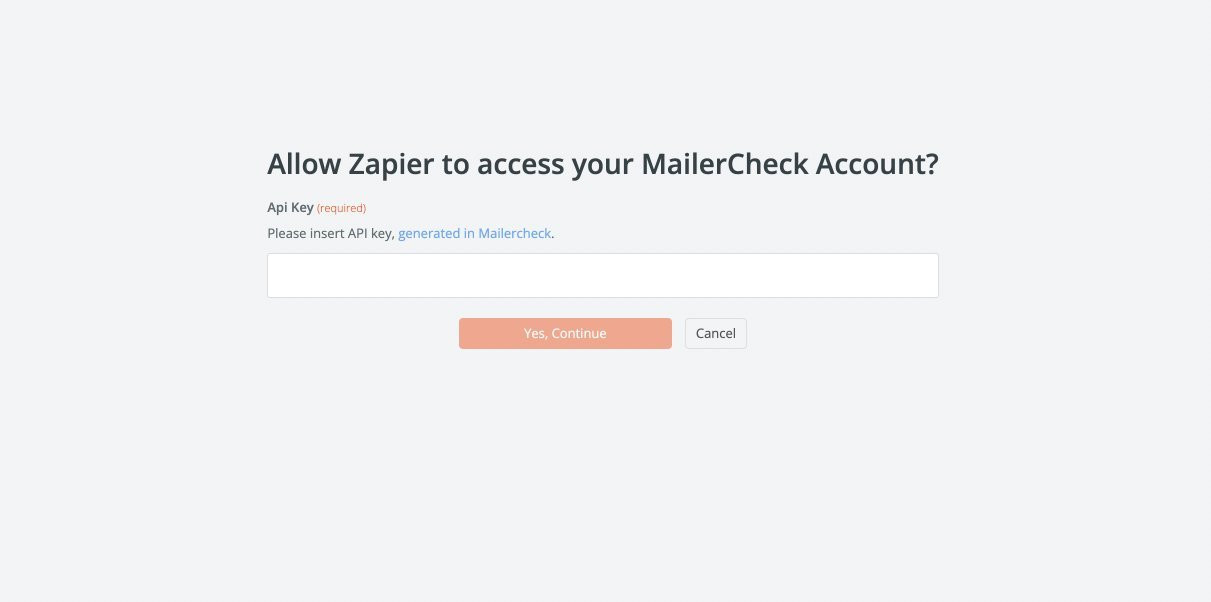
You’ll be prompted to Copy or Download the token. Copy the token and return to Zapier, paste the token and click on Yes, Continue.
Congrats! You’ve just connected MailerCheck and Zapier. Now it’s time to create some Zaps!
Creating Zaps
Let’s take a look at how you can connect your preferred app to automatically verify email addresses of new contacts. In this example, we’ll validate your incoming leads’ email addresses and update the email list in Google Sheets.
-
1
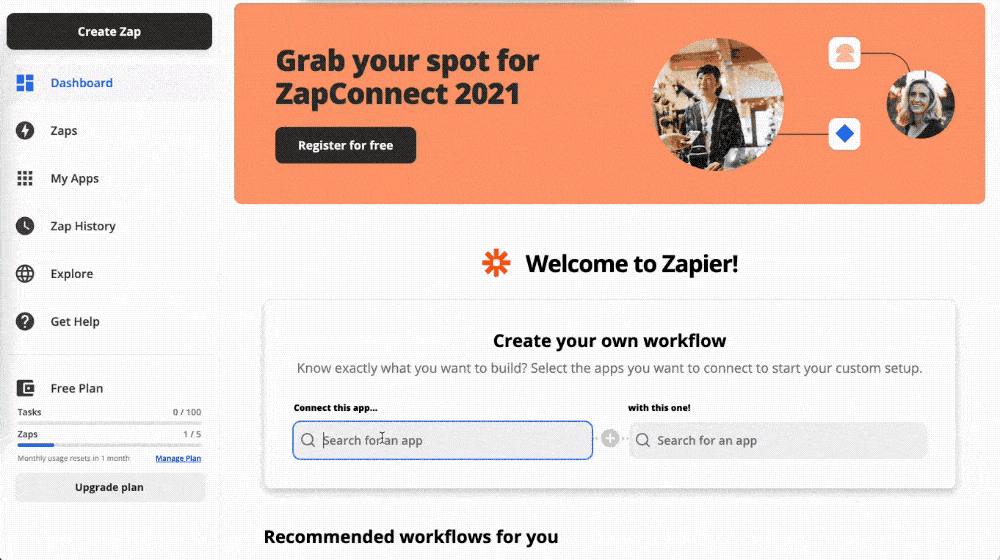
Log in to your Zapier account and go to your Dashboard.
-
2
Beneath Create your own workflow, search for Google Sheets (or any other preferred app) in the first field on the left. In the right field, search for MailerCheck.
-
3
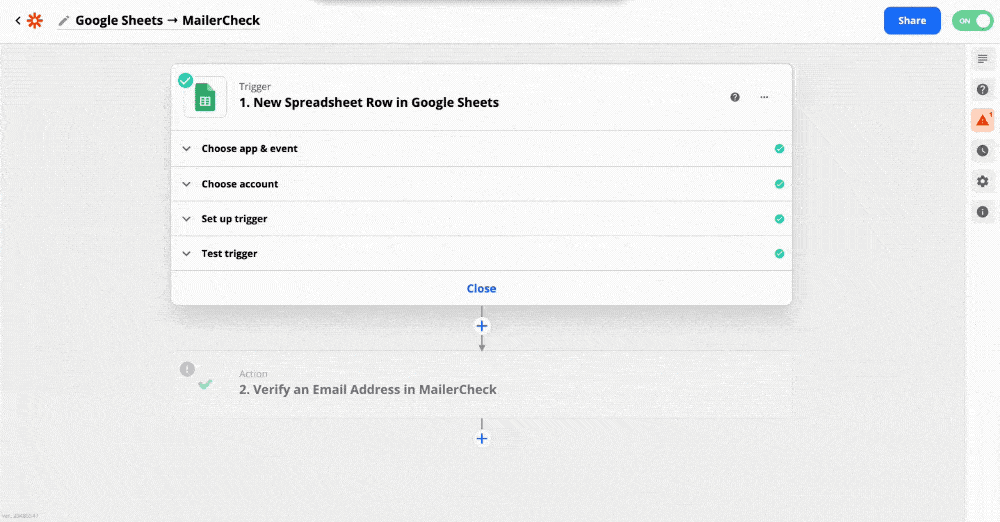
Select your preferred trigger and action. We’ll use New Spreadsheet Row and Verify an Email Address. Then click Try it.
-
1
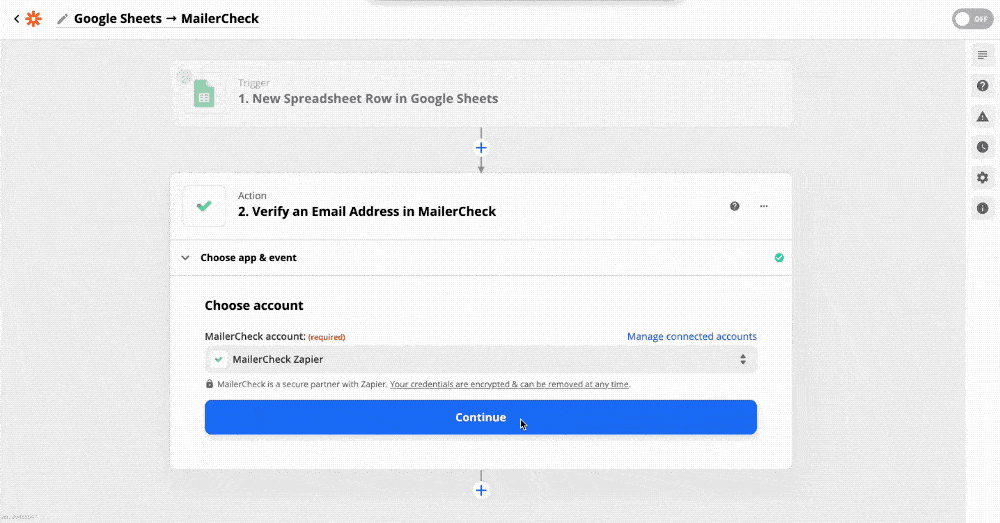
Next, connect your Google Sheets account to Zapier, then select the appropriate spreadsheet and worksheet. You can test the trigger and click on the Continue button.
-
1
In the MailerCheck action step, choose the correct column with the email addresses from your worksheet. Then test the action.
Lastly, we’ll set up a third step to update your worksheet with the validation result.
-
1
Click on the + symbol to add another step and choose Google Sheets app. Fill in all the appropriate fields and click on Continue.

If the test was successful, your worksheet in Google Sheets will be updated with the validation status.
As a last step, you can click Turn on Zap to activate the workflow.
From now on, your new email list entries will be automatically verified in MailerCheck as they come in.
Popular MailerCheck workflows
With Zapier, you can quickly create workflows with your favorite apps to streamline your processes and focus on more important work. Below are a few more workflow examples.
Verify new and update subscribers collected through forms in MailerLite
Verify new Stripe customers and safely send post-purchase emails with MailerSend