ConvertKit email verification
How MailerCheck provides the best email validation for ConvertKit users
MailerCheck seamlessly integrates with ConvertKit, making it the leading solution for ConvertKit users aiming for the highest deliverability. Whether you're verifying in bulk, single email addresses, or in real-time via API, MailerCheck has got you covered.
Versatility: MailerCheck is equipped to handle all types of email verification, from bulk to single email address or real-time API. Whatever your needs, we are ready to meet them
The tools you need: We offer a complete email deliverability suite designed specifically to enhance the delivery of your ConvertKit campaigns, from email validation to campaign optimization.
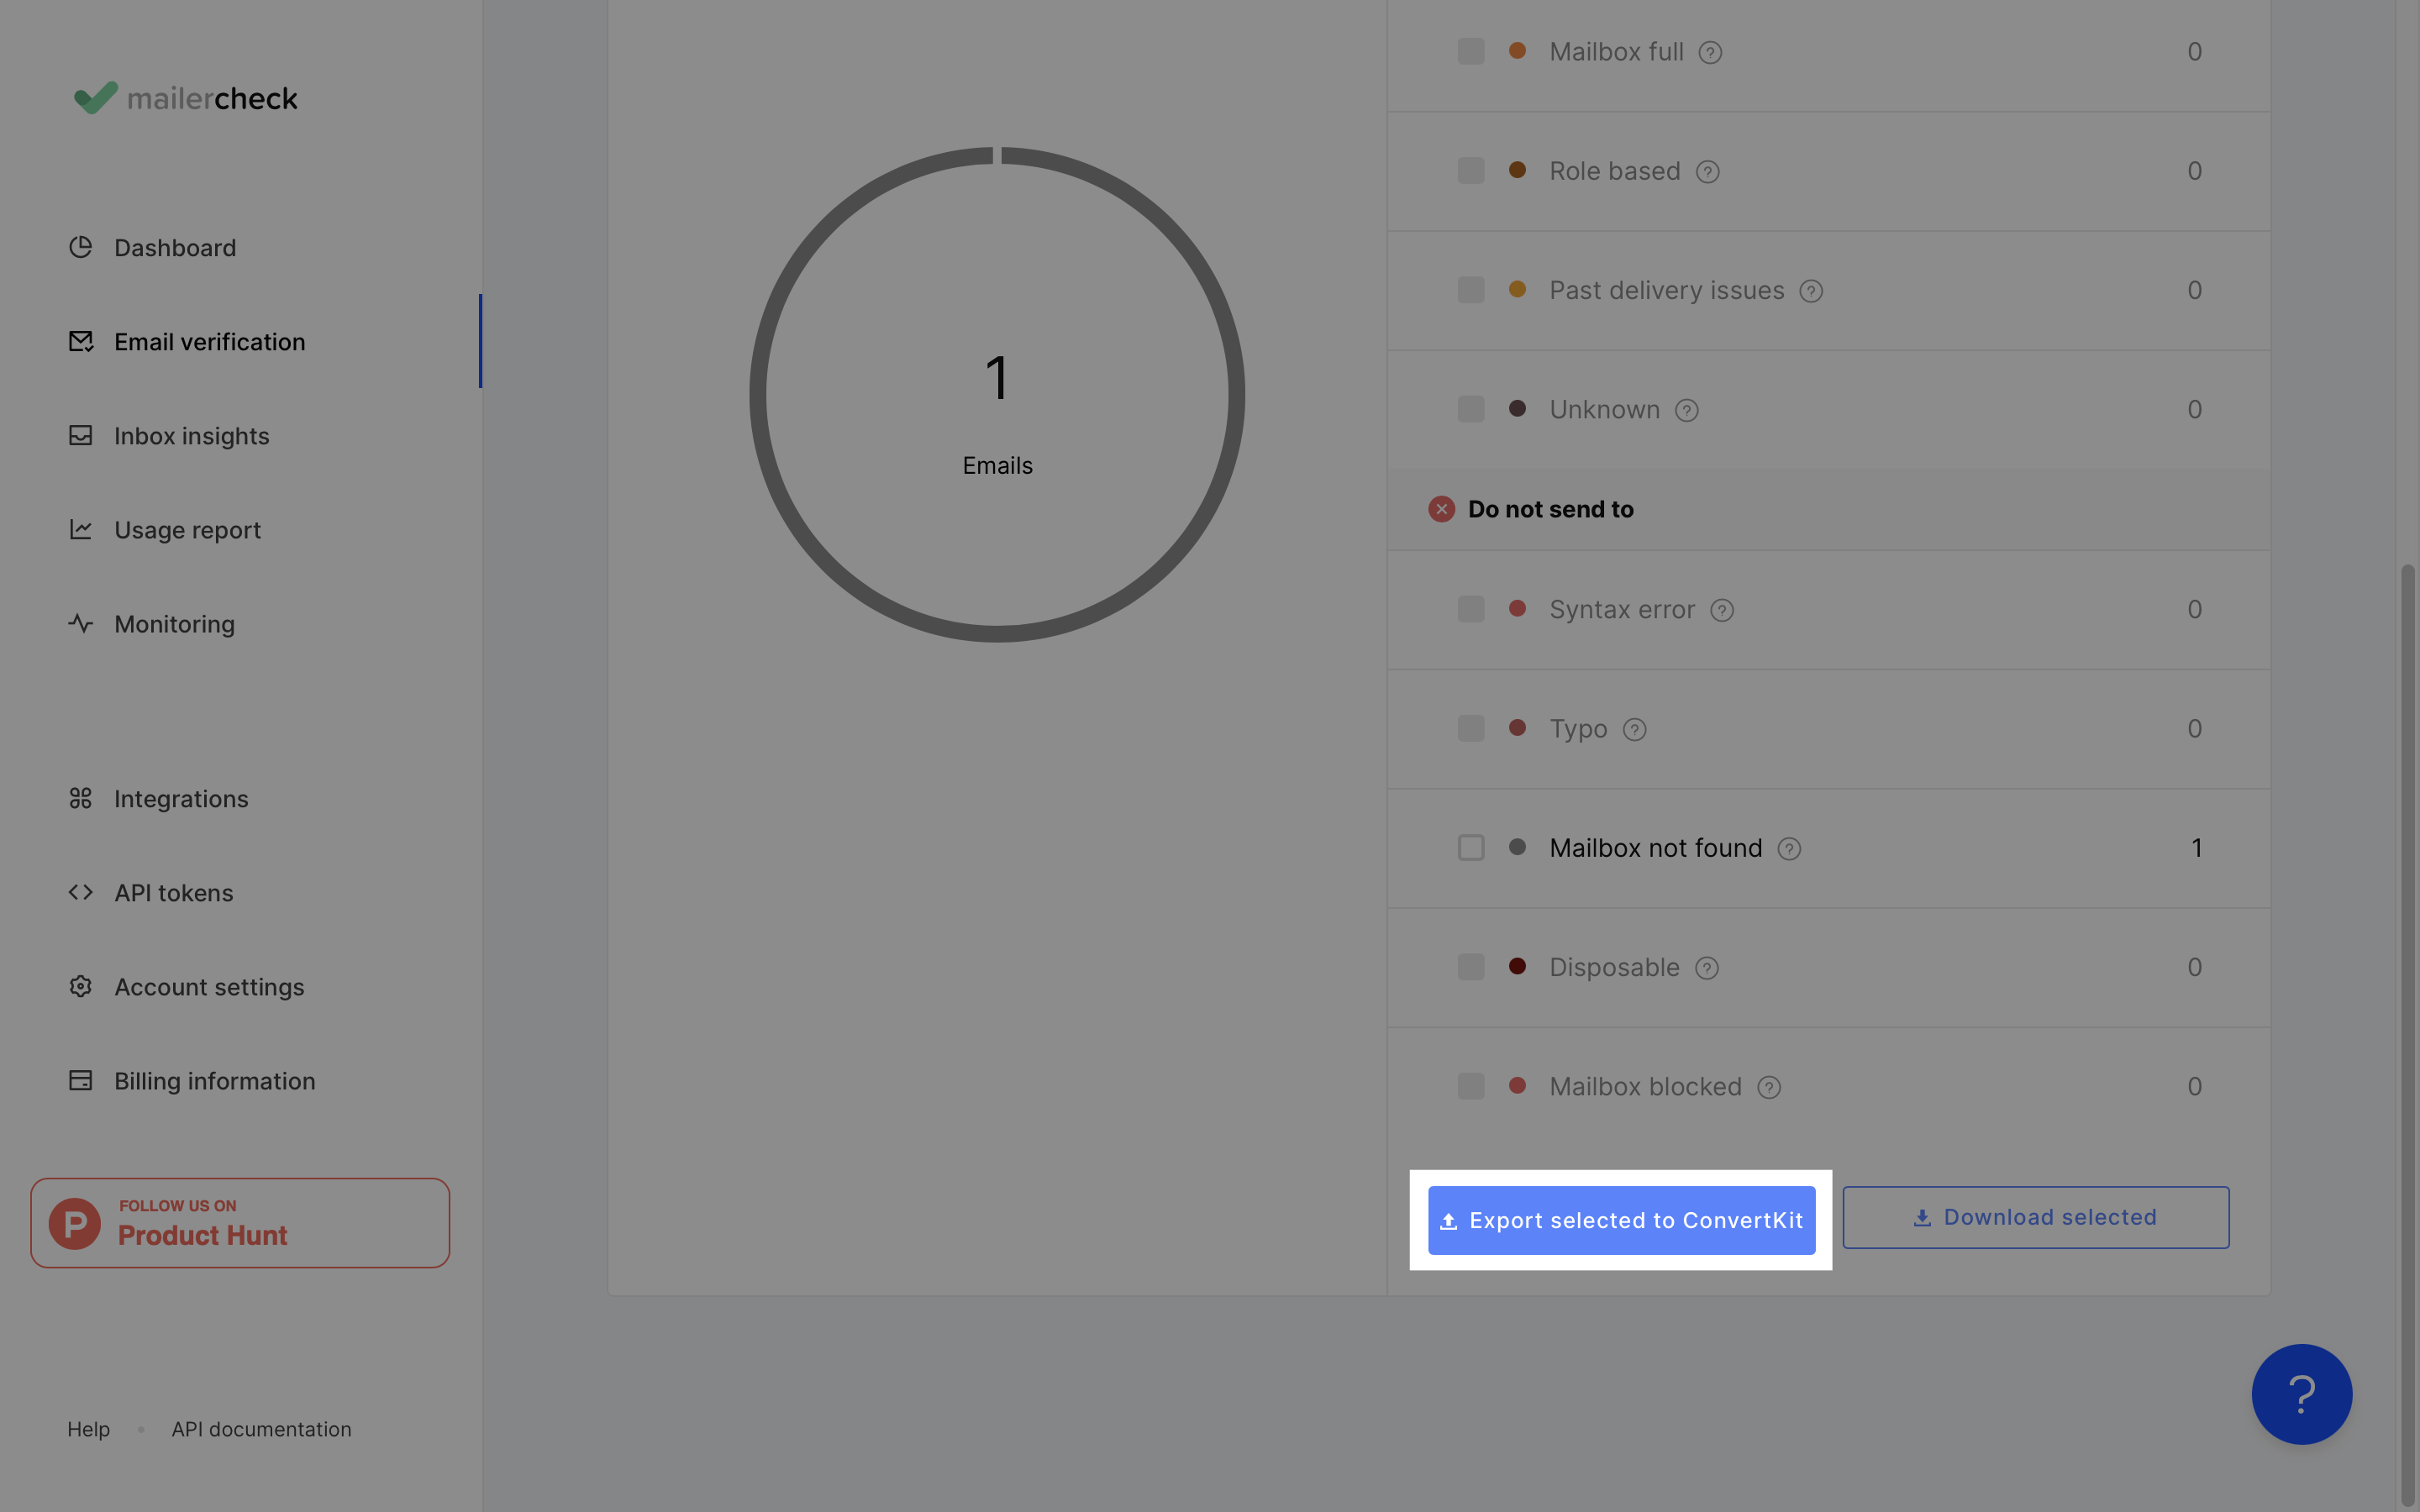
Detailed reporting: Our service provides in-depth reports, identifying typos, syntax errors, catch-all, disposable, and role-based emails, along with any past deliverability issues
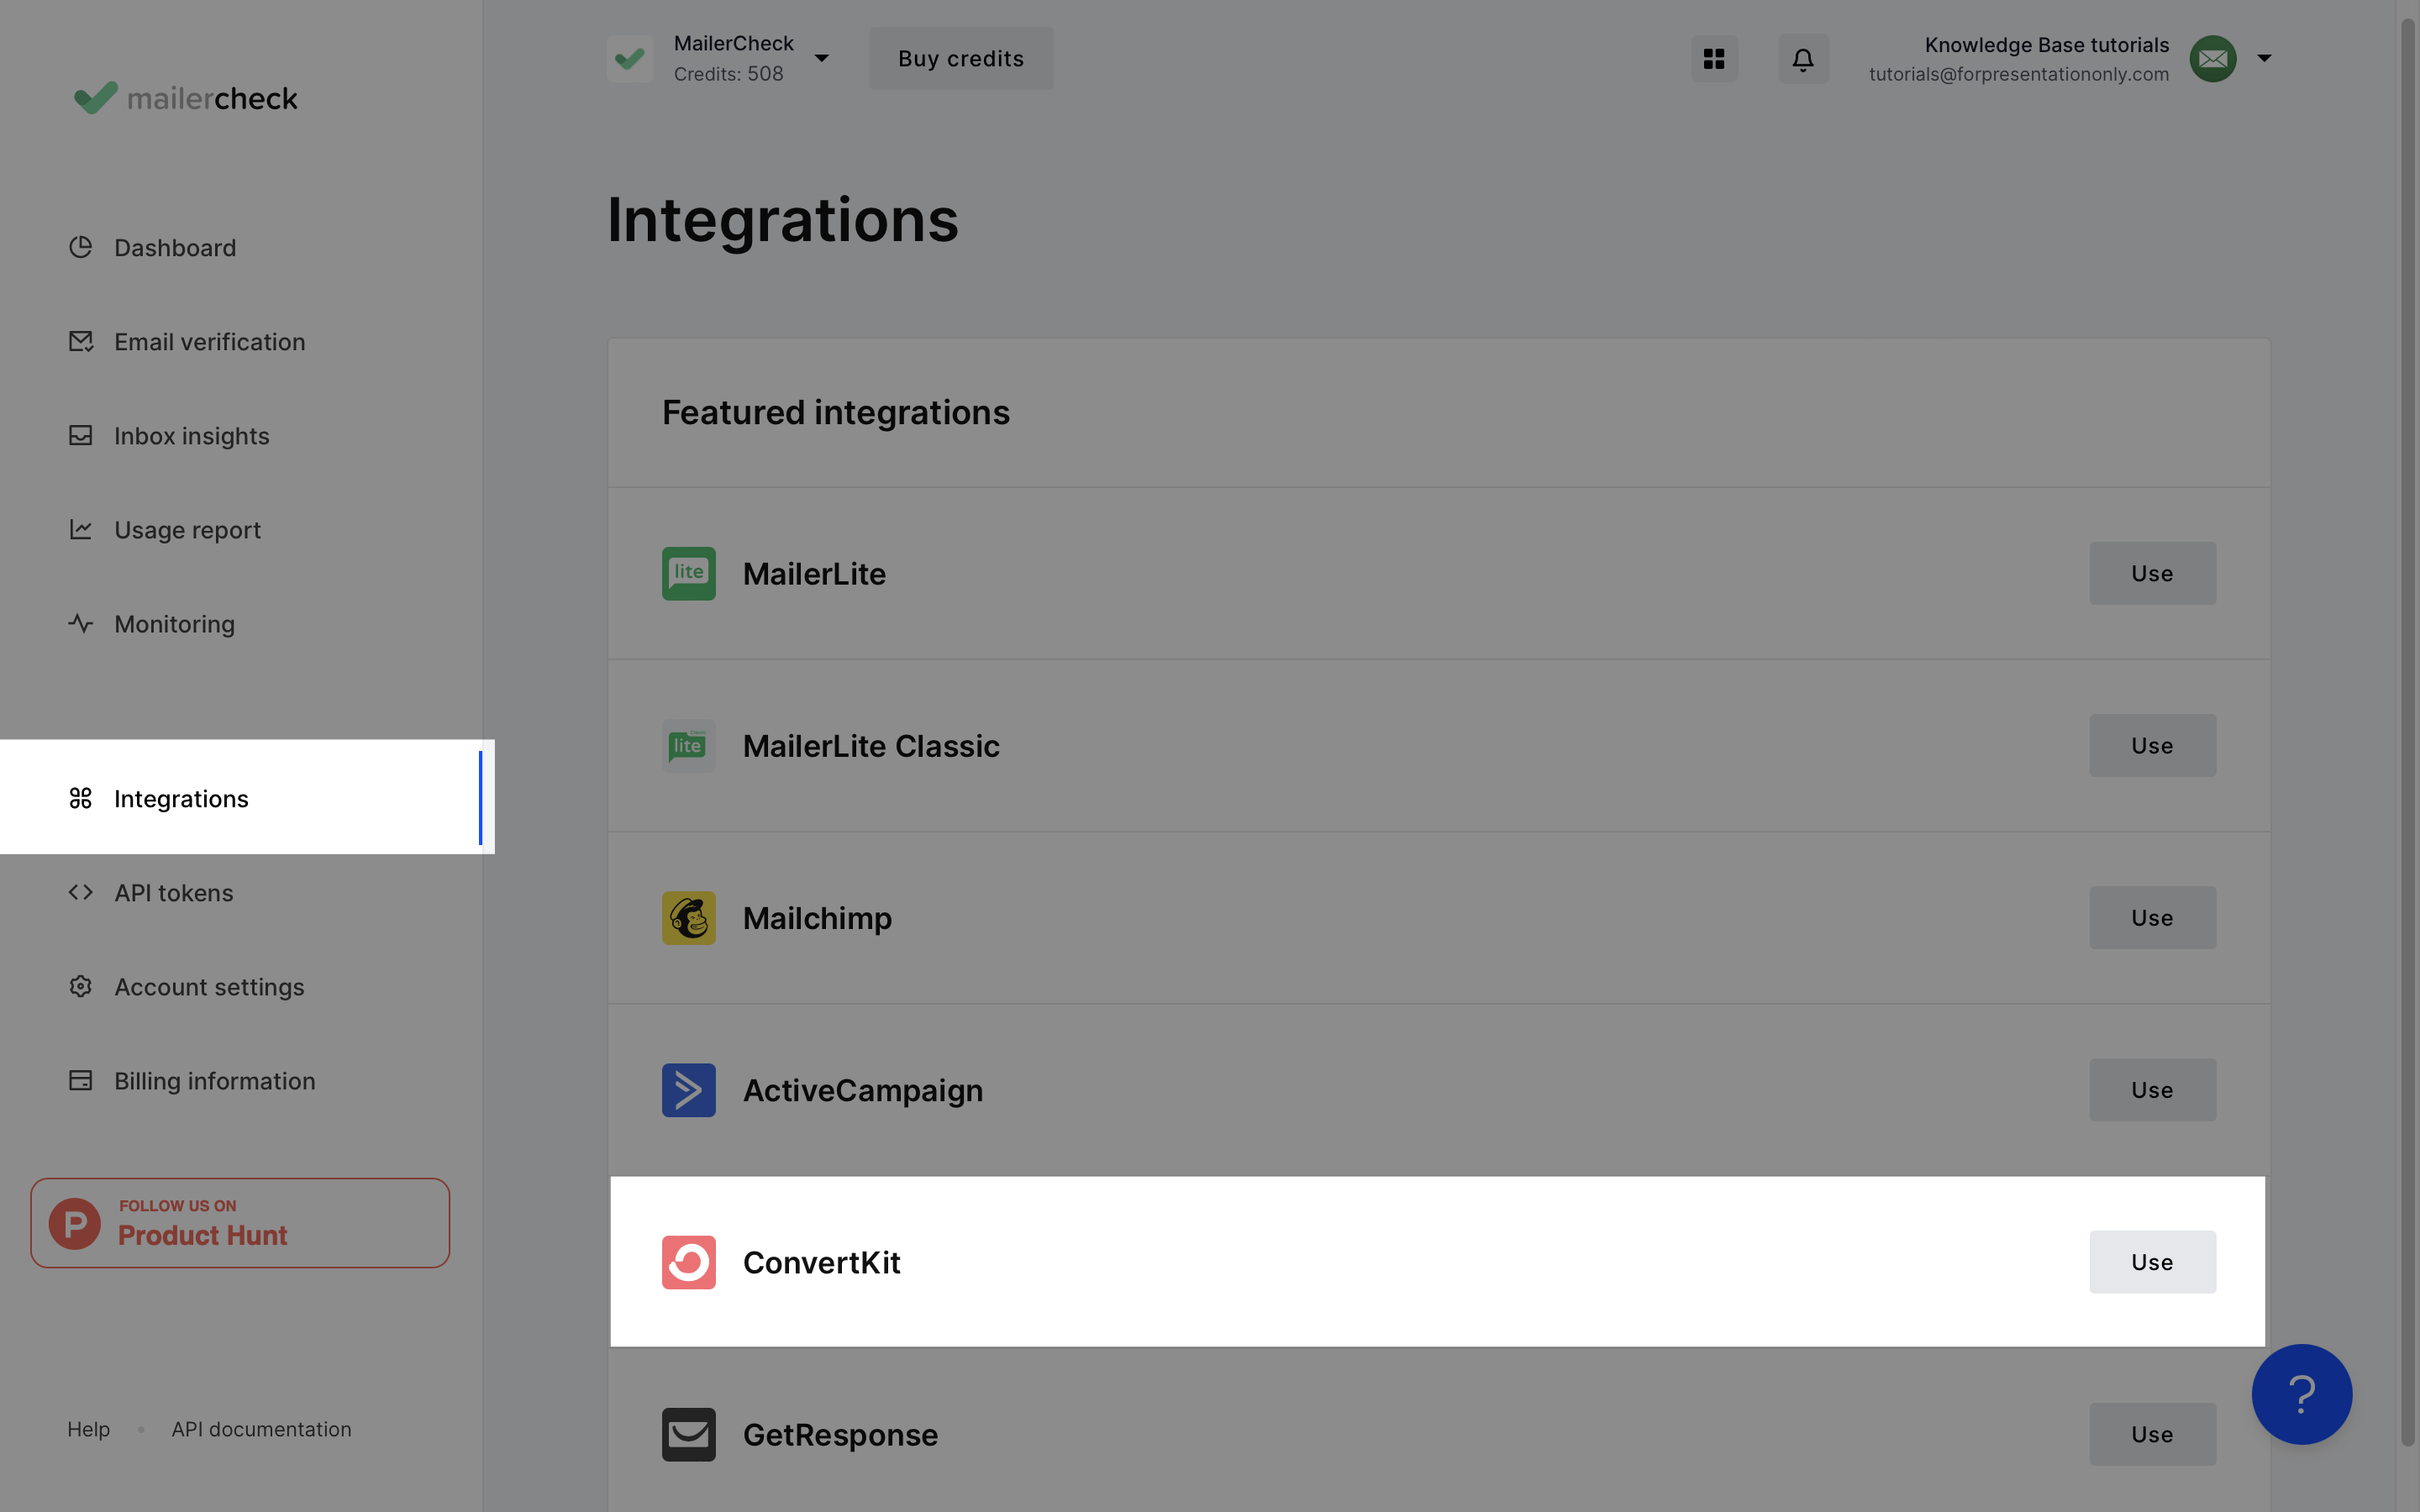
How to use the ConvertKit email verification integration
To set up the ConvertKit email verification integration with MailerCheck, follow these steps:
-
1
Log in to your MailerCheck account.
-
2
Select Integrations.
-
3
Locate and choose ConvertKit by clicking the Use button.
-
4
Click Connect account.
-
5
Enter your API key and API secret from your ConvertKit account along with a name for your key so you can identify the integration.
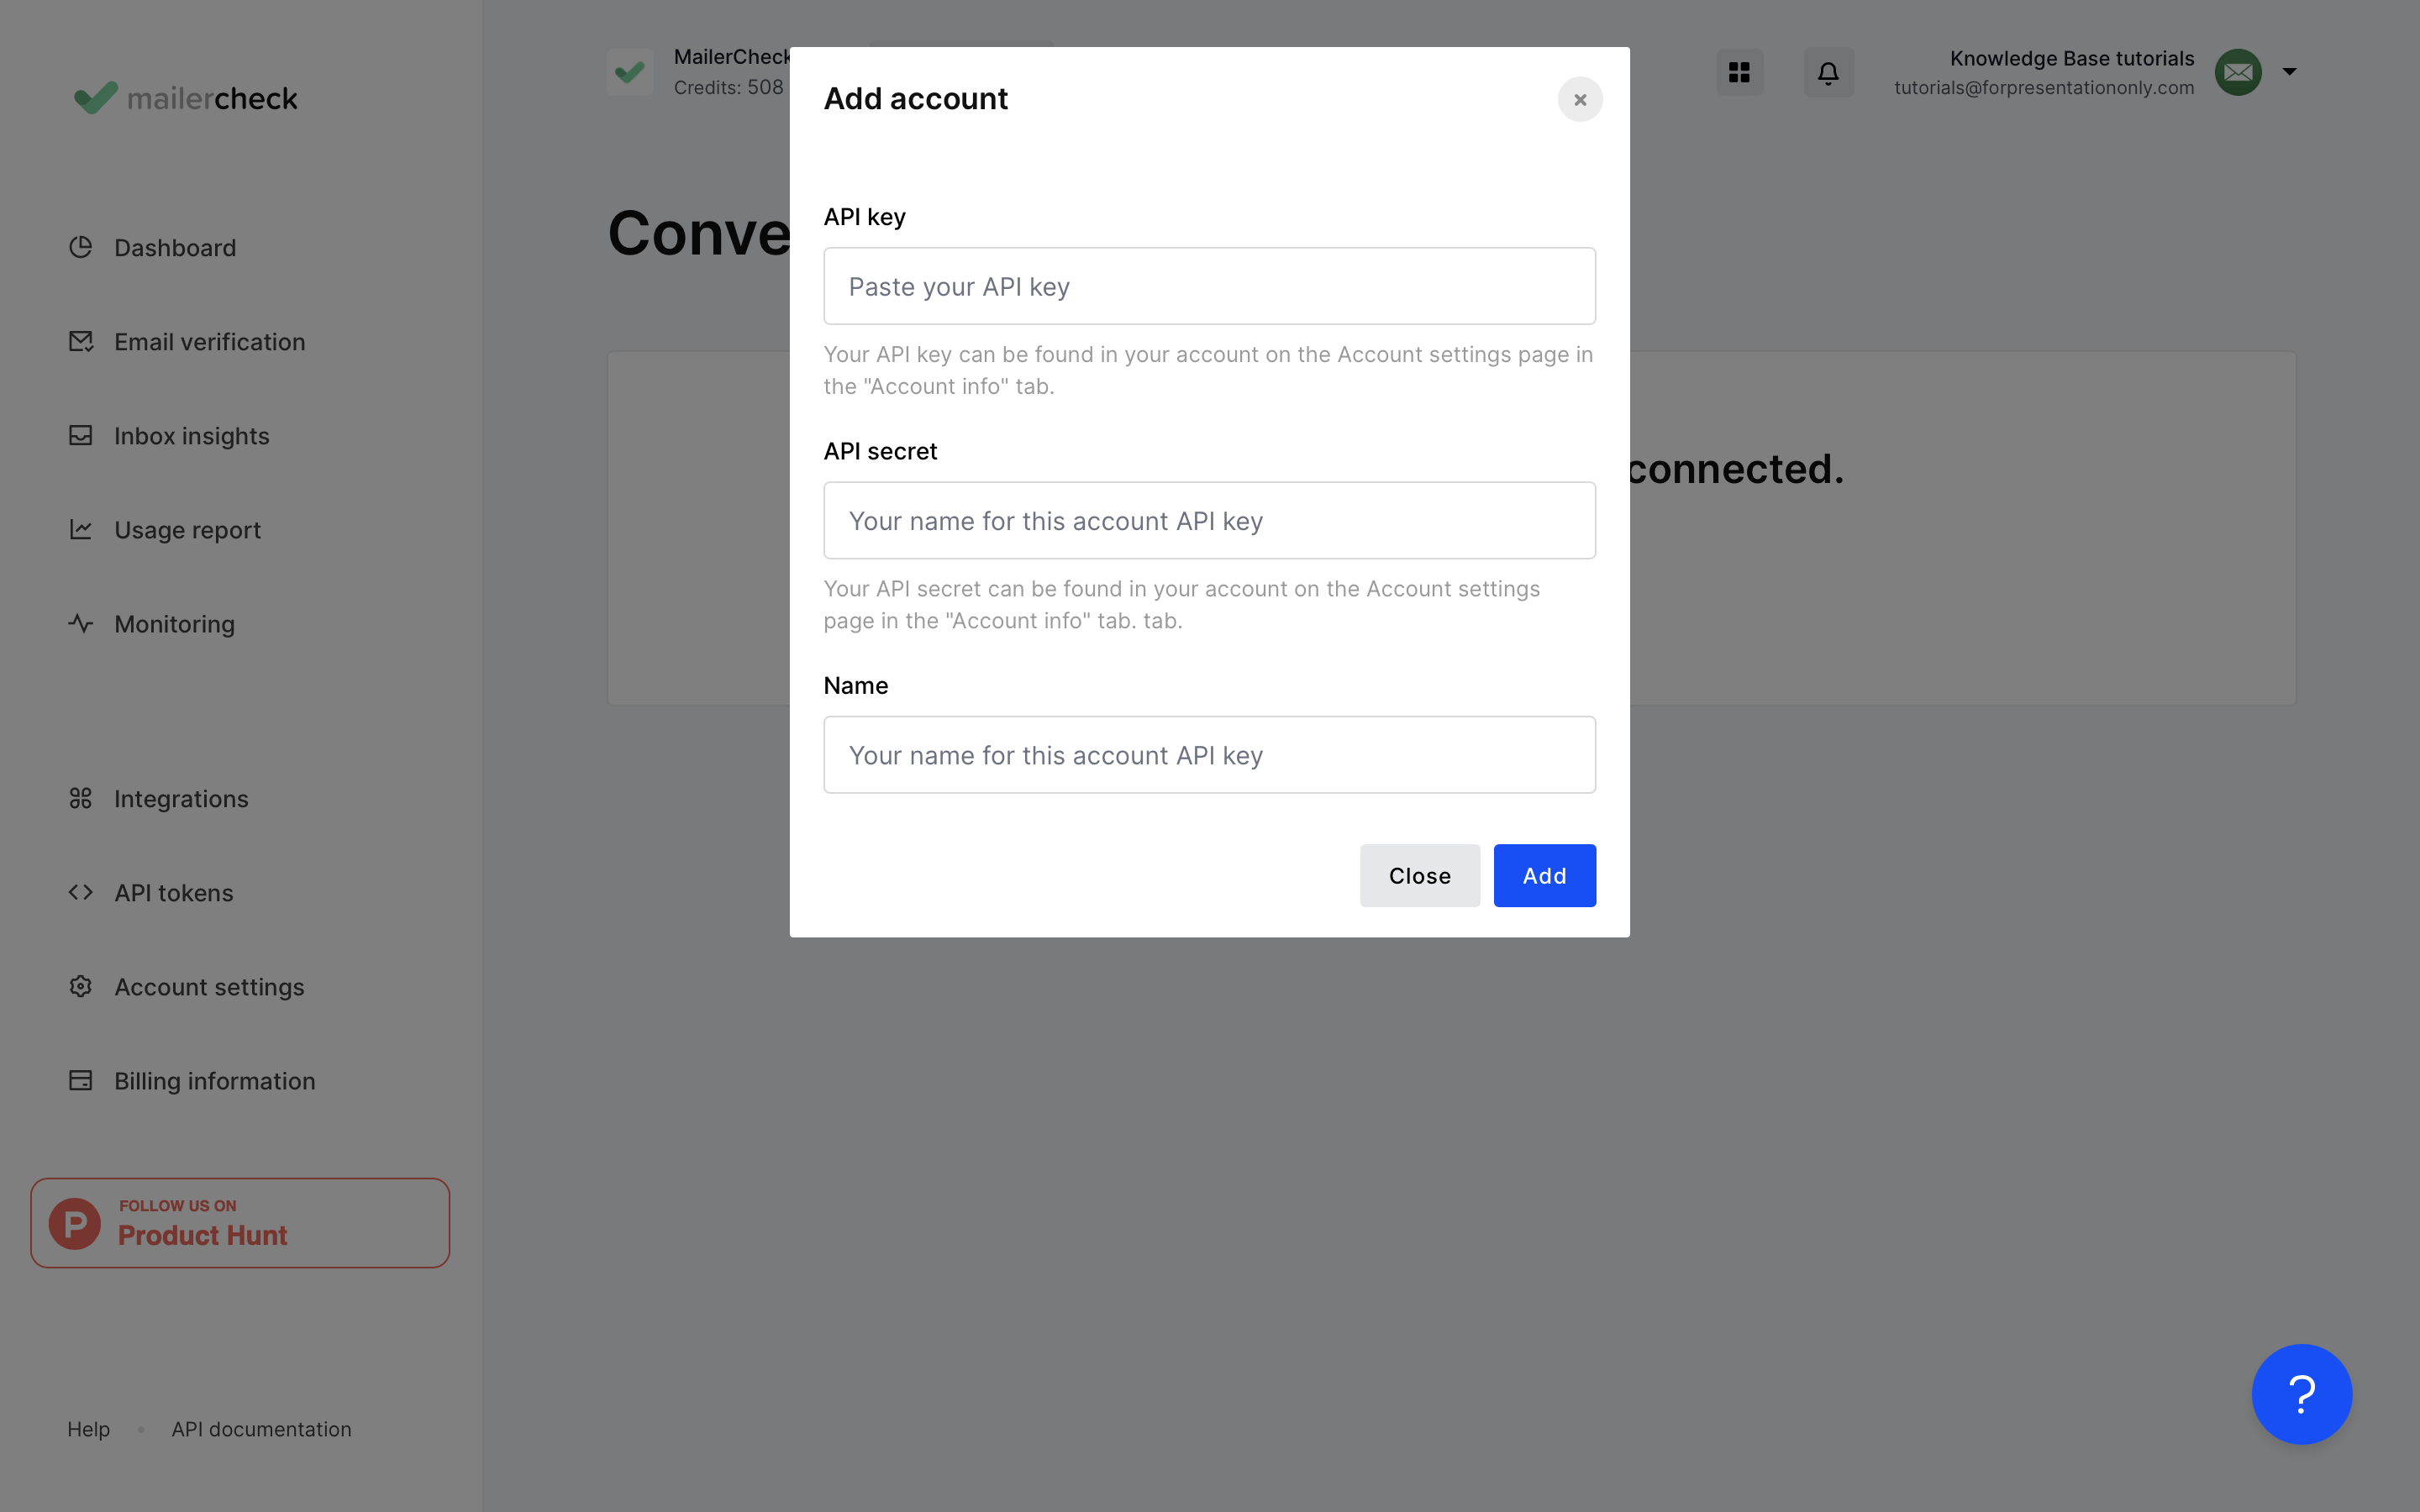
-
6
Click Add and your ConvertKit details will appear.
Managing multiple ConvertKit accounts? Add more by clicking Add integration.
To verify your lists from ConvertKit:
-
1
Go to Email Verification.
-
2
Click Verify new list.
-
3
Under Integrations, locate ConvertKit and click Use.
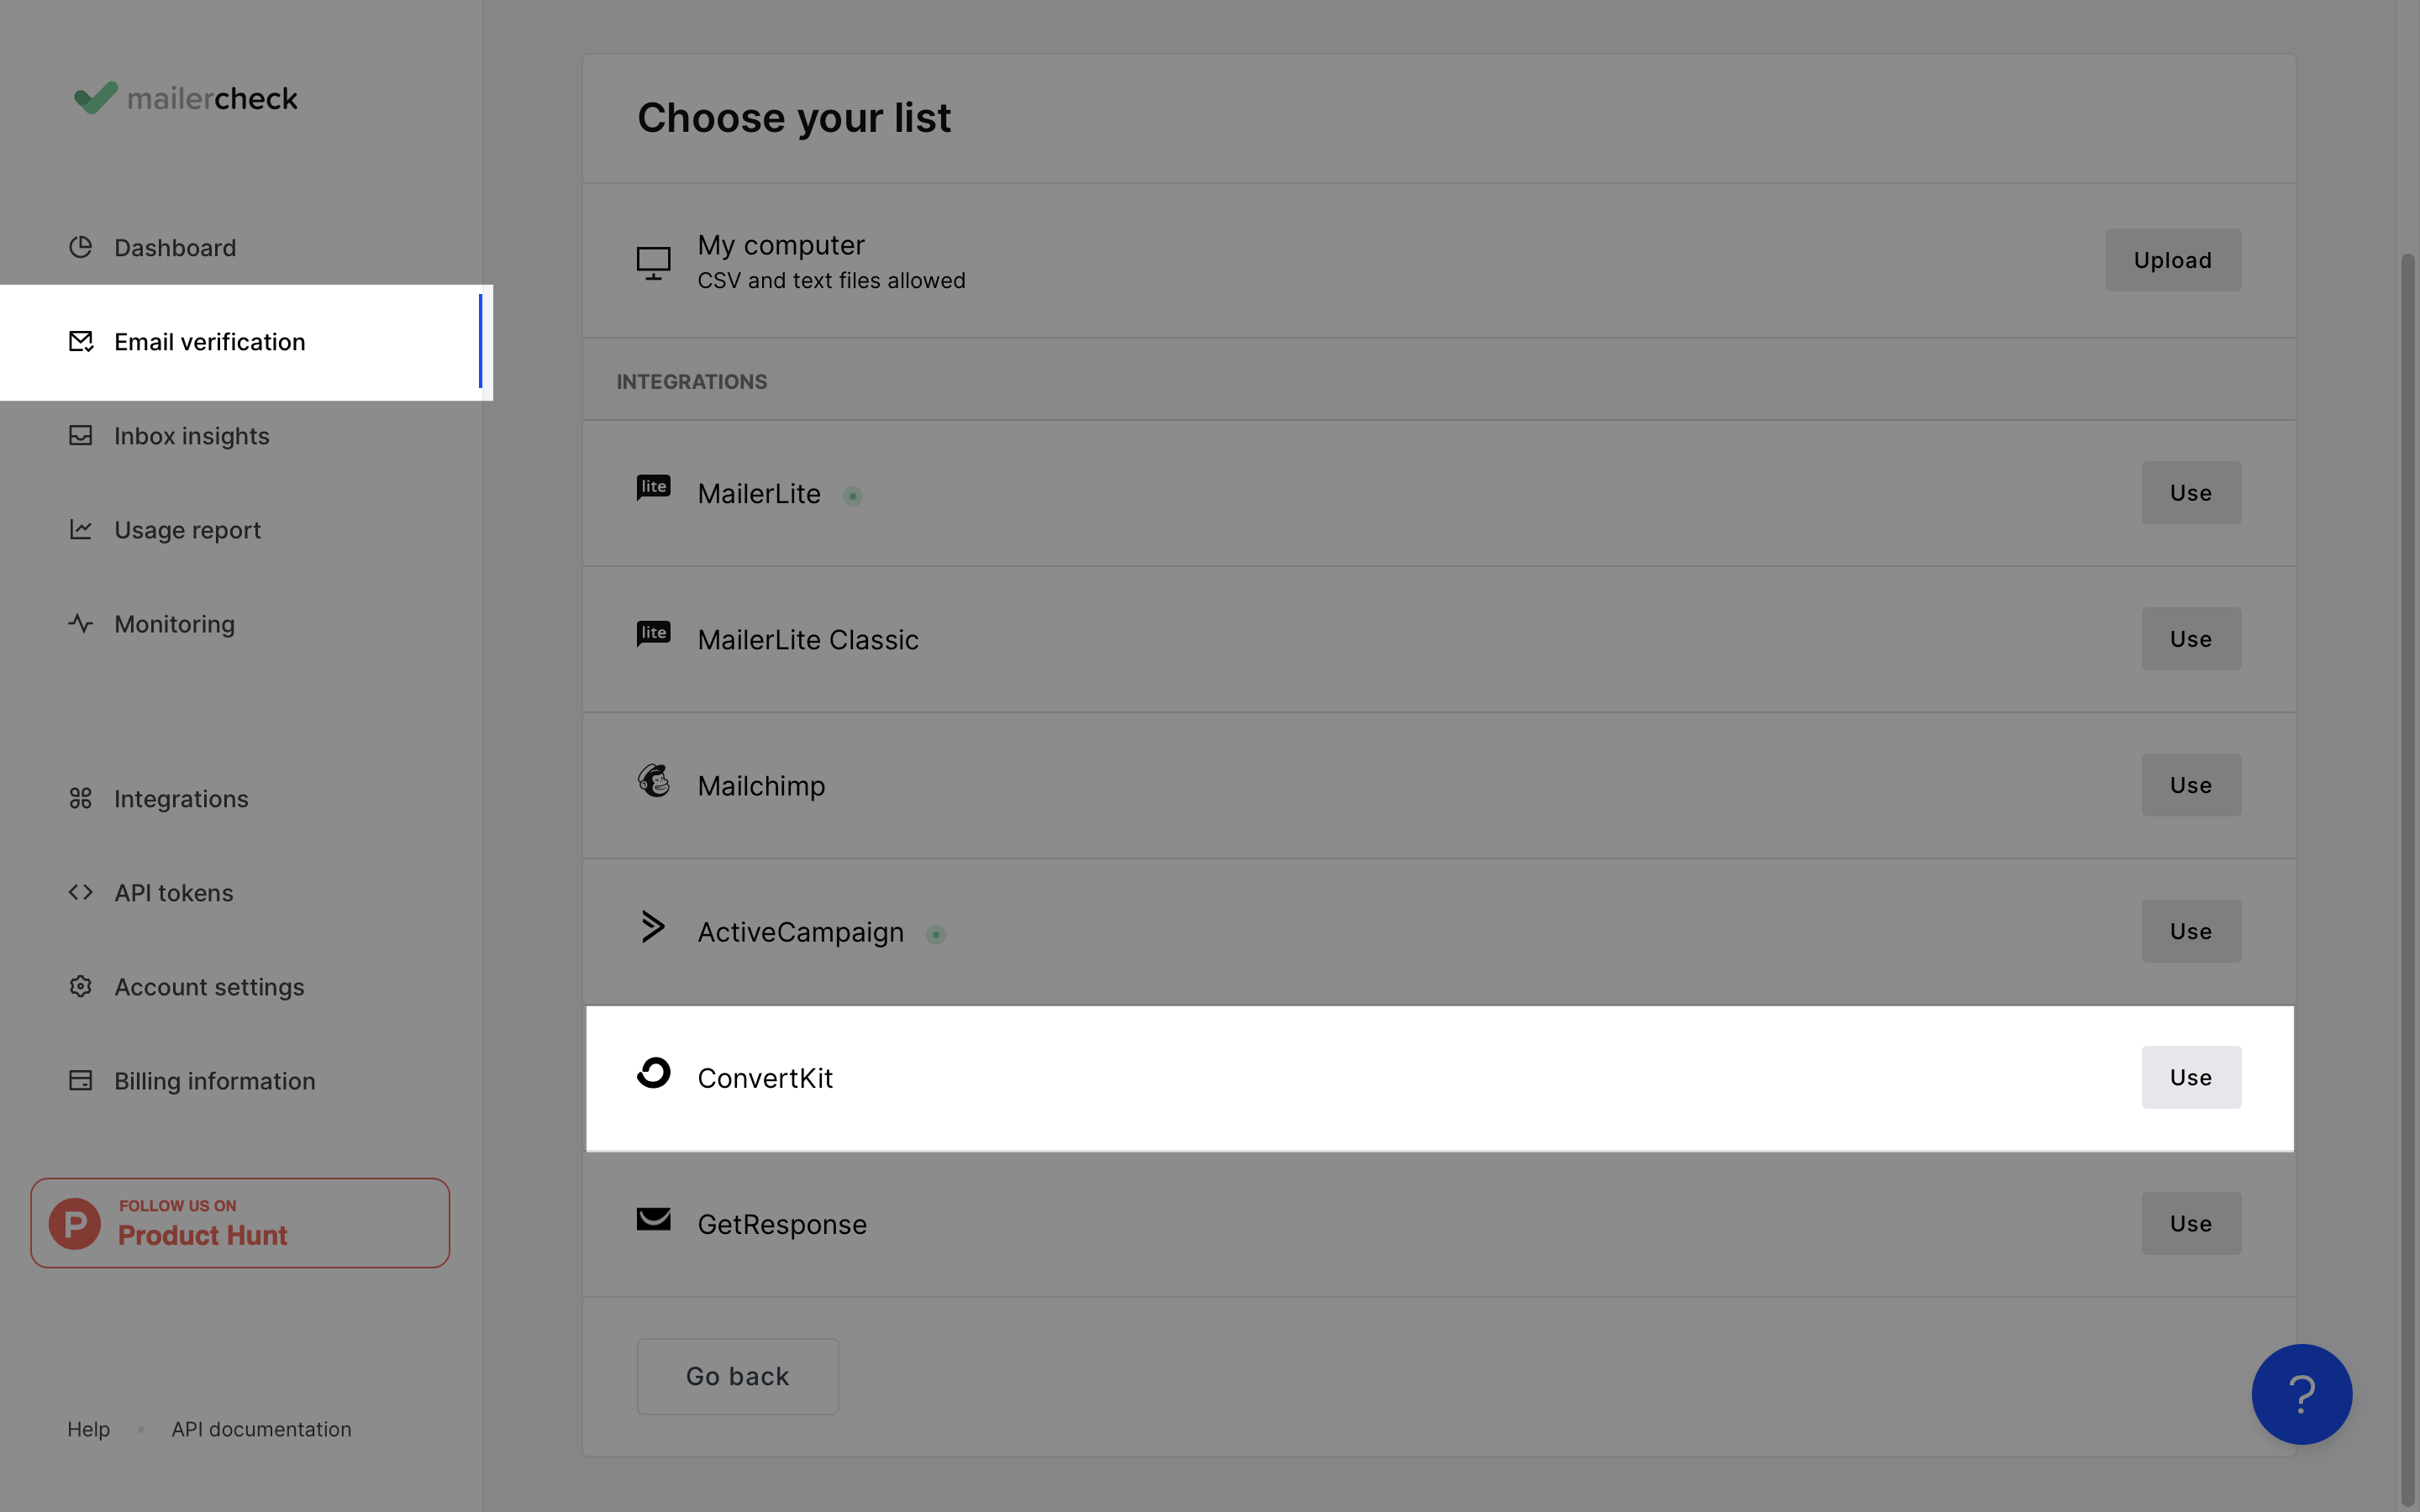
-
4
Choose the ConvertKit account you wish to connect from the dropdown menu or click Add account to add a new account.
-
5
Click Authenticate.
-
6.
From the dropdown menu, select the ConvertKit list you want to verify.
-
7
Click Verify list.
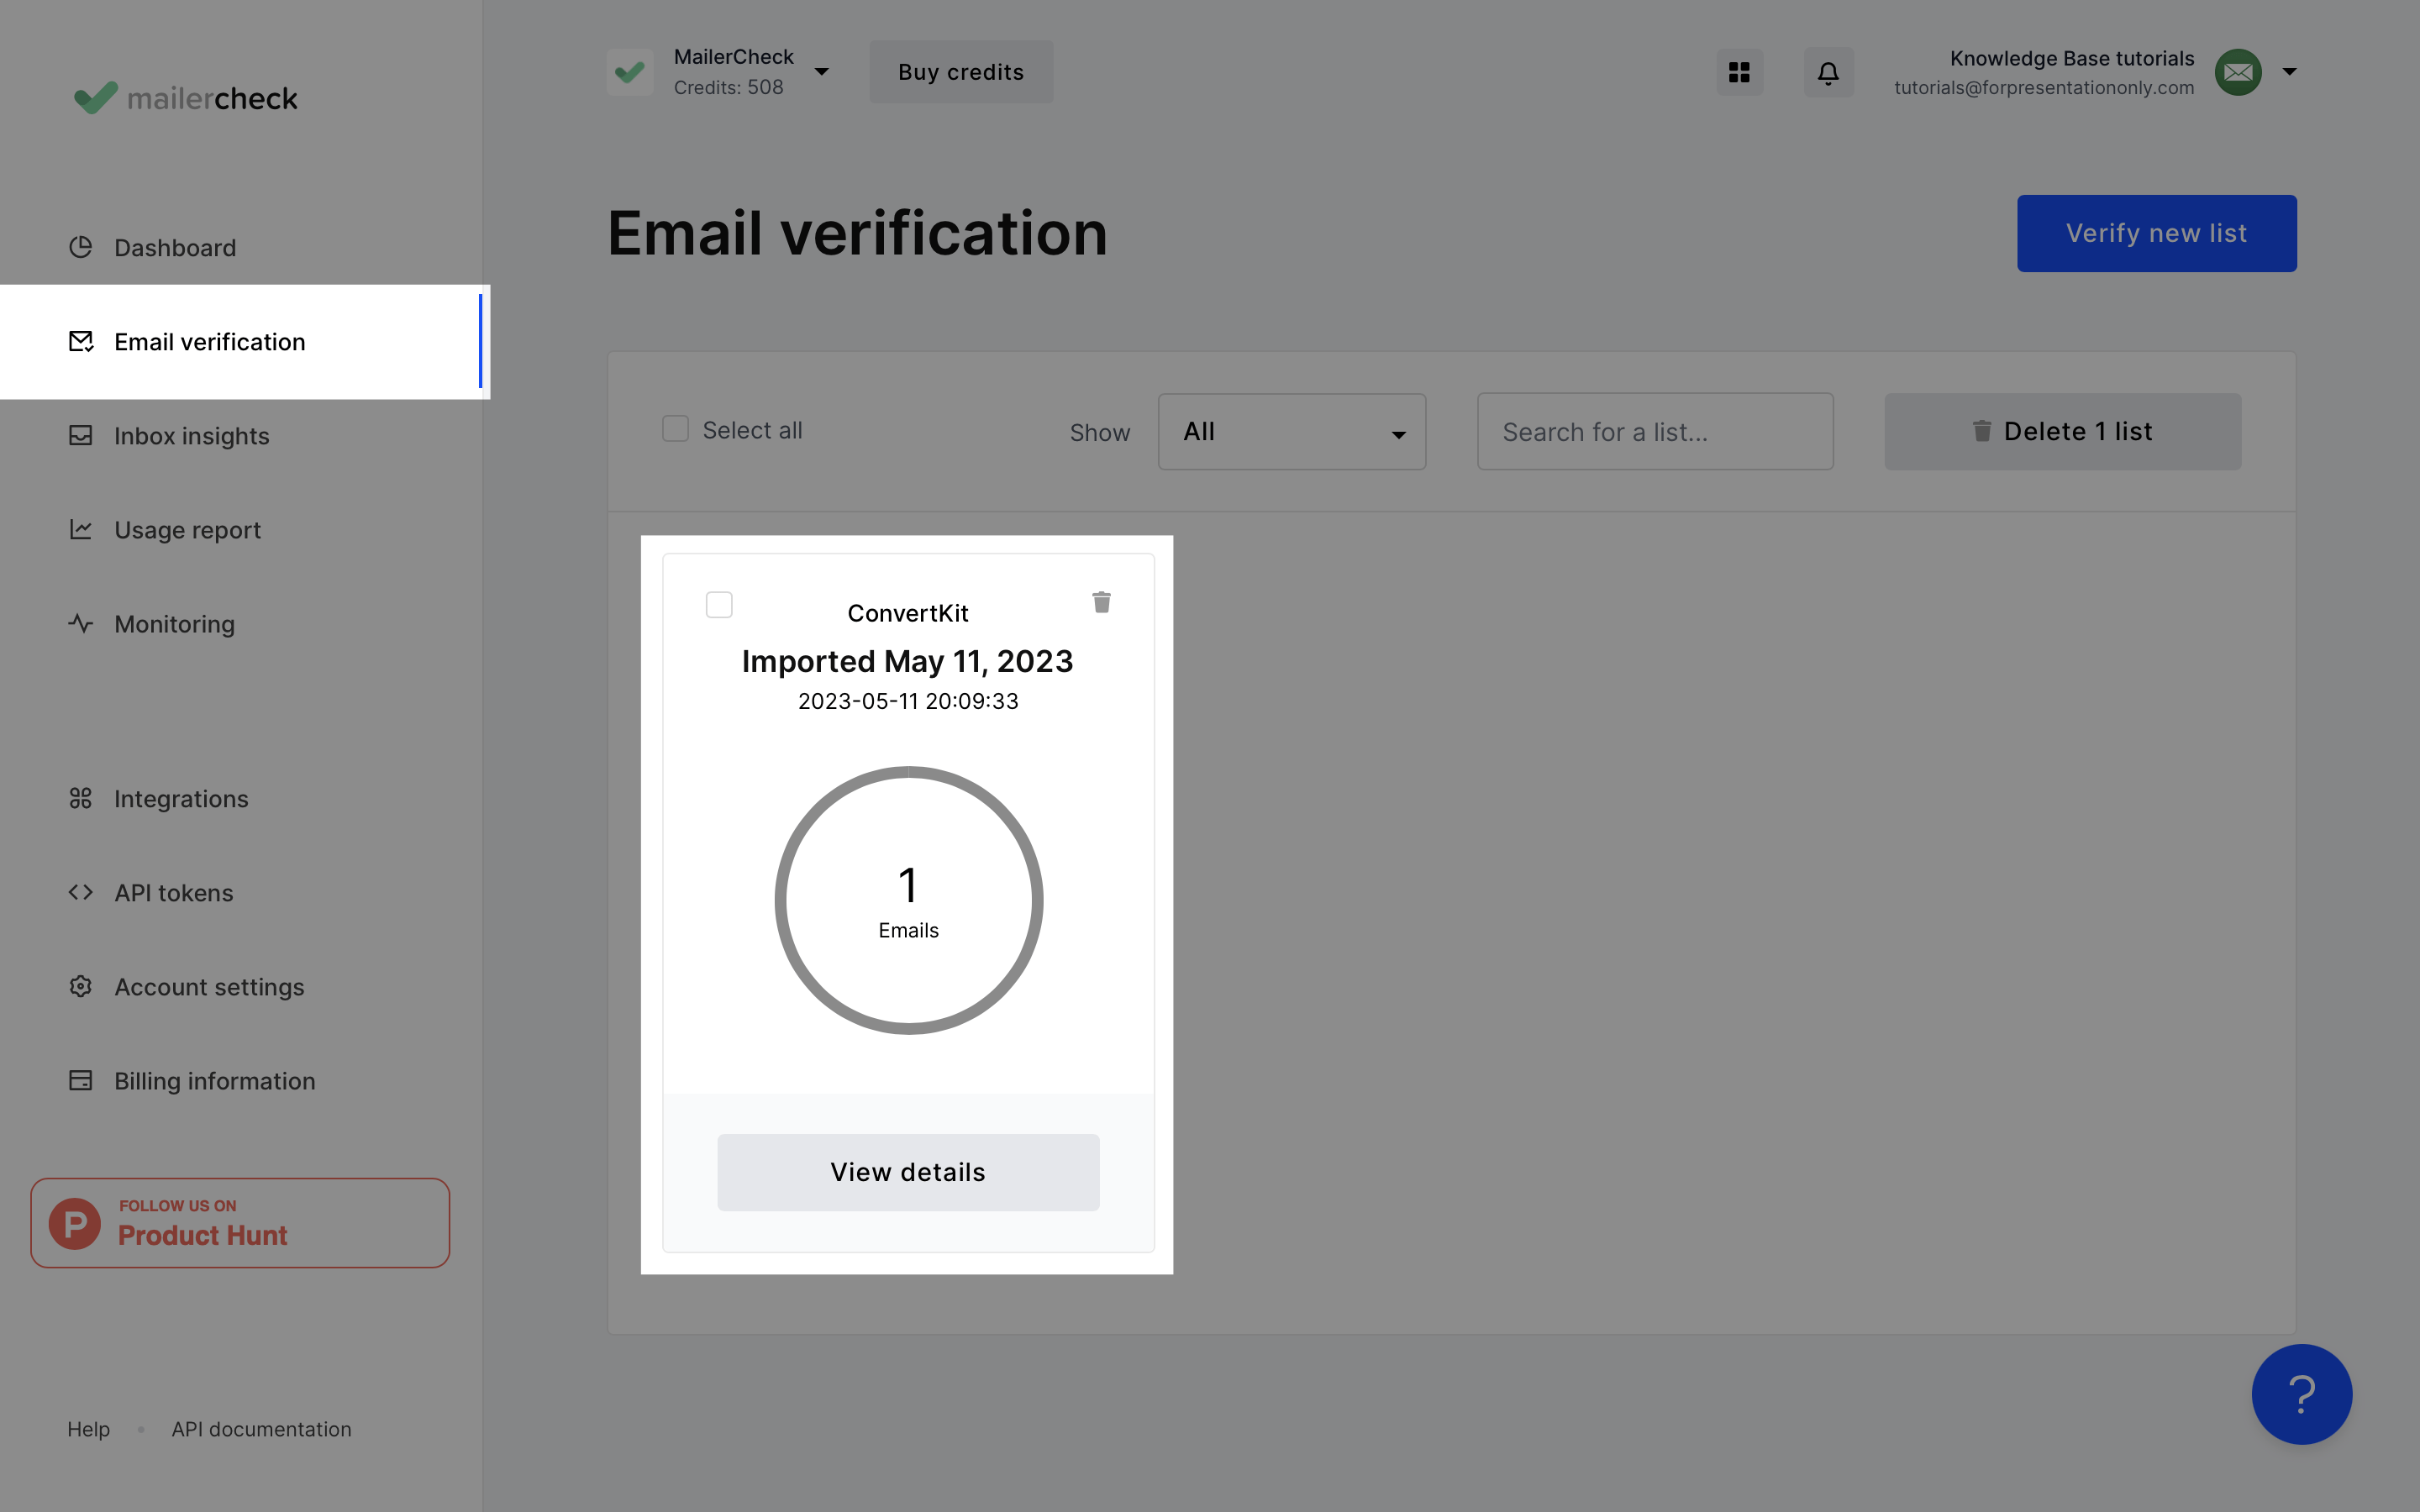
The validation process will begin and you can monitor it on the Email Verification page. Once completed, you can view, download, or export the results by clicking View details.
Real-time API Email Verification for ConvertKit
MailerCheck's Real-time API email verification provides instant validation for new email addresses as they're collected. It integrates seamlessly with ConvertKit to filter out invalid emails before they’re added to your list.
By eliminating invalid addresses before they can impact your campaigns, you'll maintain a strong sender reputation and ensure optimal deliverability. For more information on implementing real-time email validation, refer to our API documentation.
Other MailerCheck Solutions for ConvertKit Email Deliverability
MailerCheck offers a whole suite of tools to enhance ConvertKit deliverability:
Inbox Placement: Analyze email deliverability across different providers, including Gmail, Outlook, Yahoo, AOL, GMX, Mail.com, Zoho, and Protonmail
Email Insights: Conduct spam check on your ConvertKit campaign before sending, including content checks, spam filter checks, and HTML validation