Usage report
Reading the report
To access the report, we’ve added an extra option to the top menu bar.
Now, let’s take a look at the report.
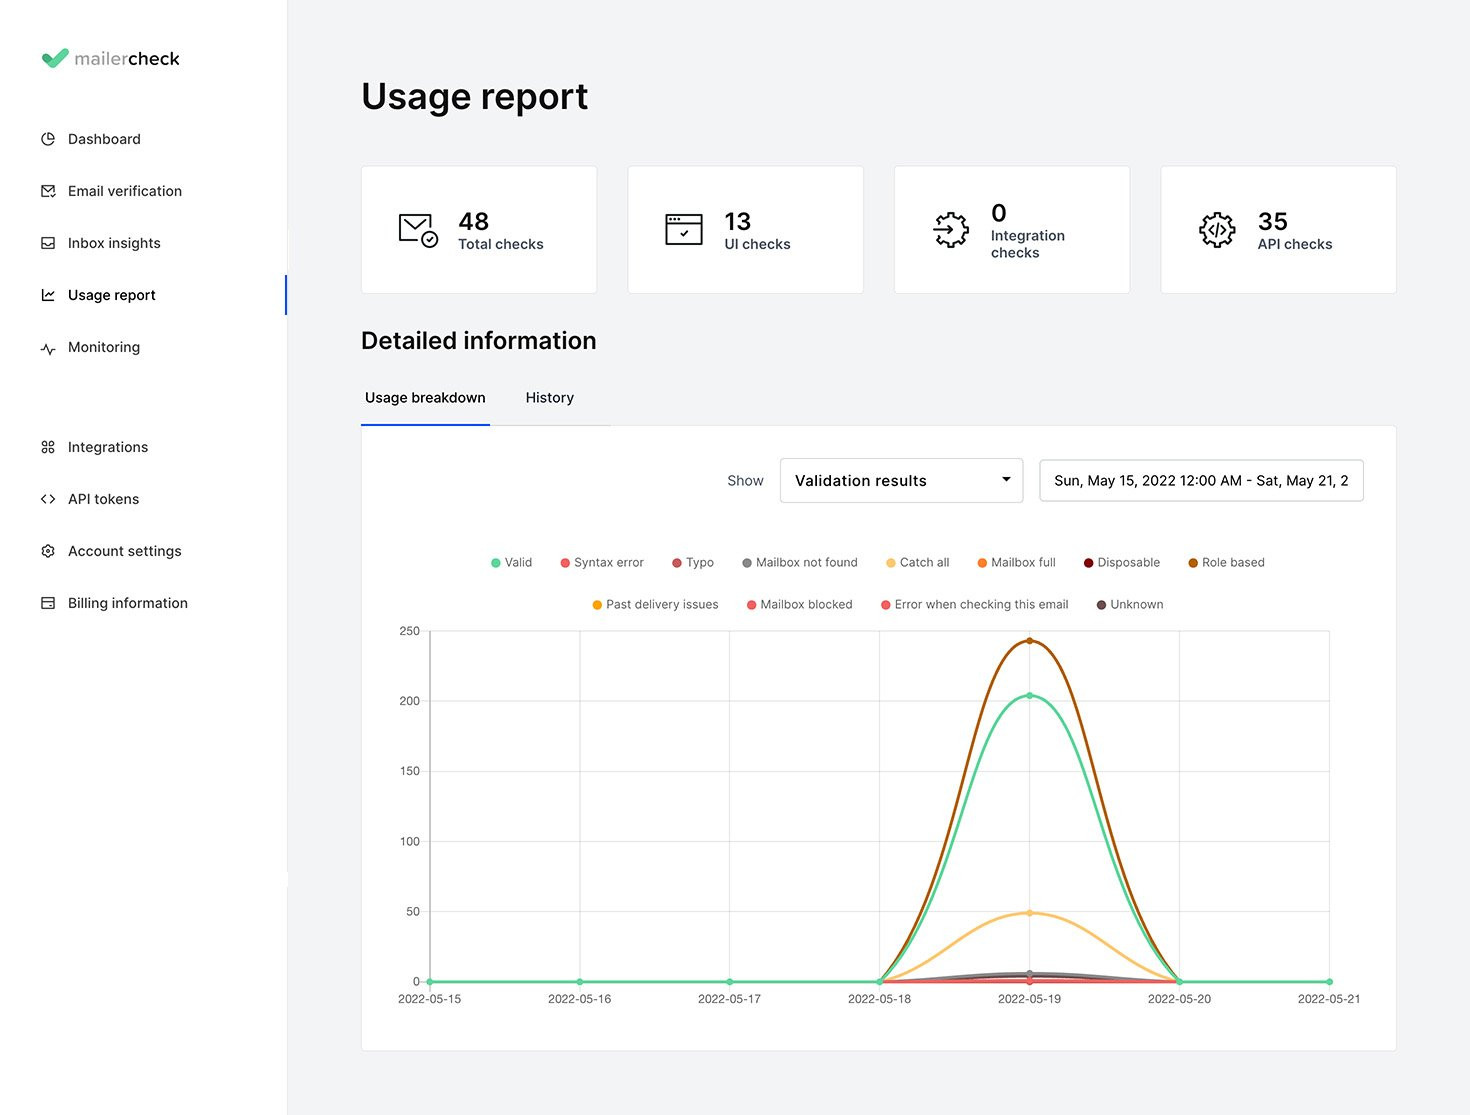
The first section of the Usage report displays 4 boxes.

This represents the number of lists validated, regardless of how the list was added to MailerCheck. This number is the total number of validations this year and will reset on January 1st.
This represents the number of CSV and TXT files uploaded into your MailerCheck account and validated this year.
This represents the number of lists imported into your MailerCheck account through the use of an integration and validated this year.
This represents the number of times email addresses were imported into your MailerCheck account through the API and validated this year.
The next section of the Usage report provides you with a graphical representation of the following, plus a historical view of your usage.
Usage breakdown by validation results
Usage breakdown by check type
Usage breakdown by API token

Let’s learn about each.
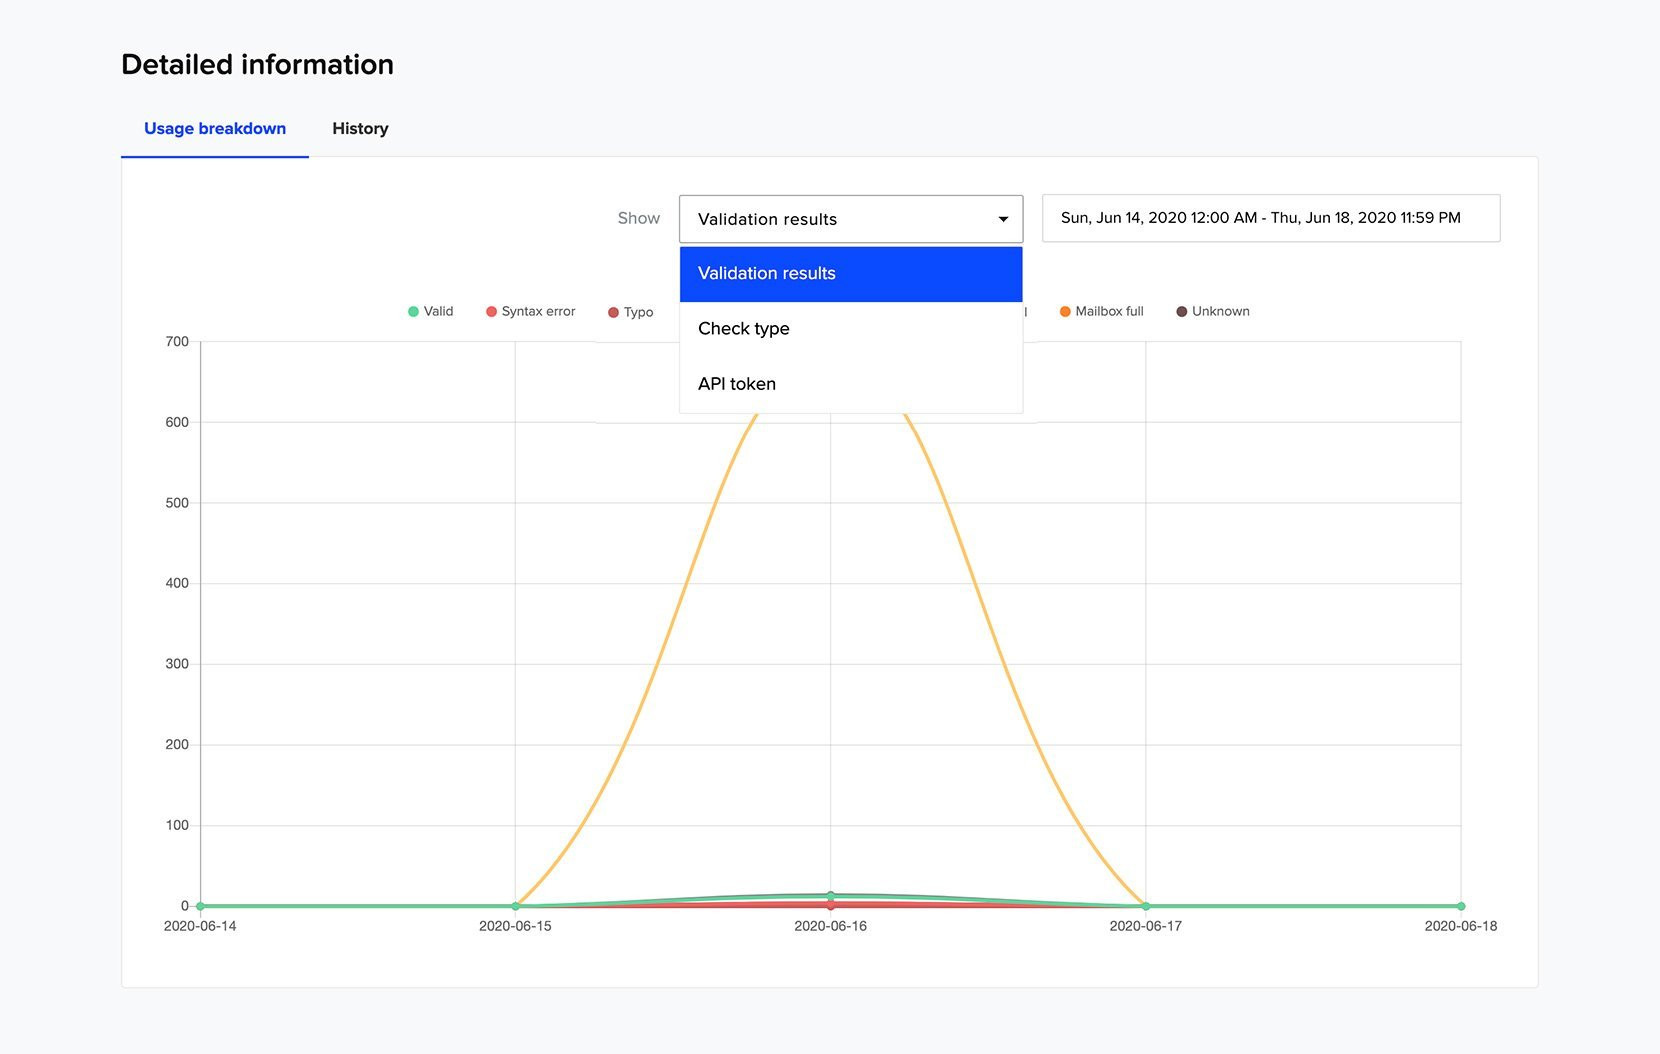
Usage breakdown by validation results
If you are looking to see the overall health of the email lists validated in your MailerCheck account, check out the Validation results report.
This report will show you how many results you’ve received over a defined period of time.
To view this report:
-
1
Go to the Usage report
-
2
Scroll to the Detailed information section
-
3
Choose Usage breakdown
-
4
Select Validation results from the Show menu
-
5
Above the chart area, you will find all of the MailerCheck statuses that can be assigned to a validated email. Each status is represented by a unique color, which will be the line in the chart. You can toggle these lines on/off by clicking on the result name.
-
6
Above the chart area, you will find all of the MailerCheck statuses that can be assigned to a validated email. Each status is represented by a unique color, which will be the line in the chart. You can toggle these lines on/off by clicking on the result name.
-
7
Choose from the predefined date ranges or use the calendar view to choose your custom date range.
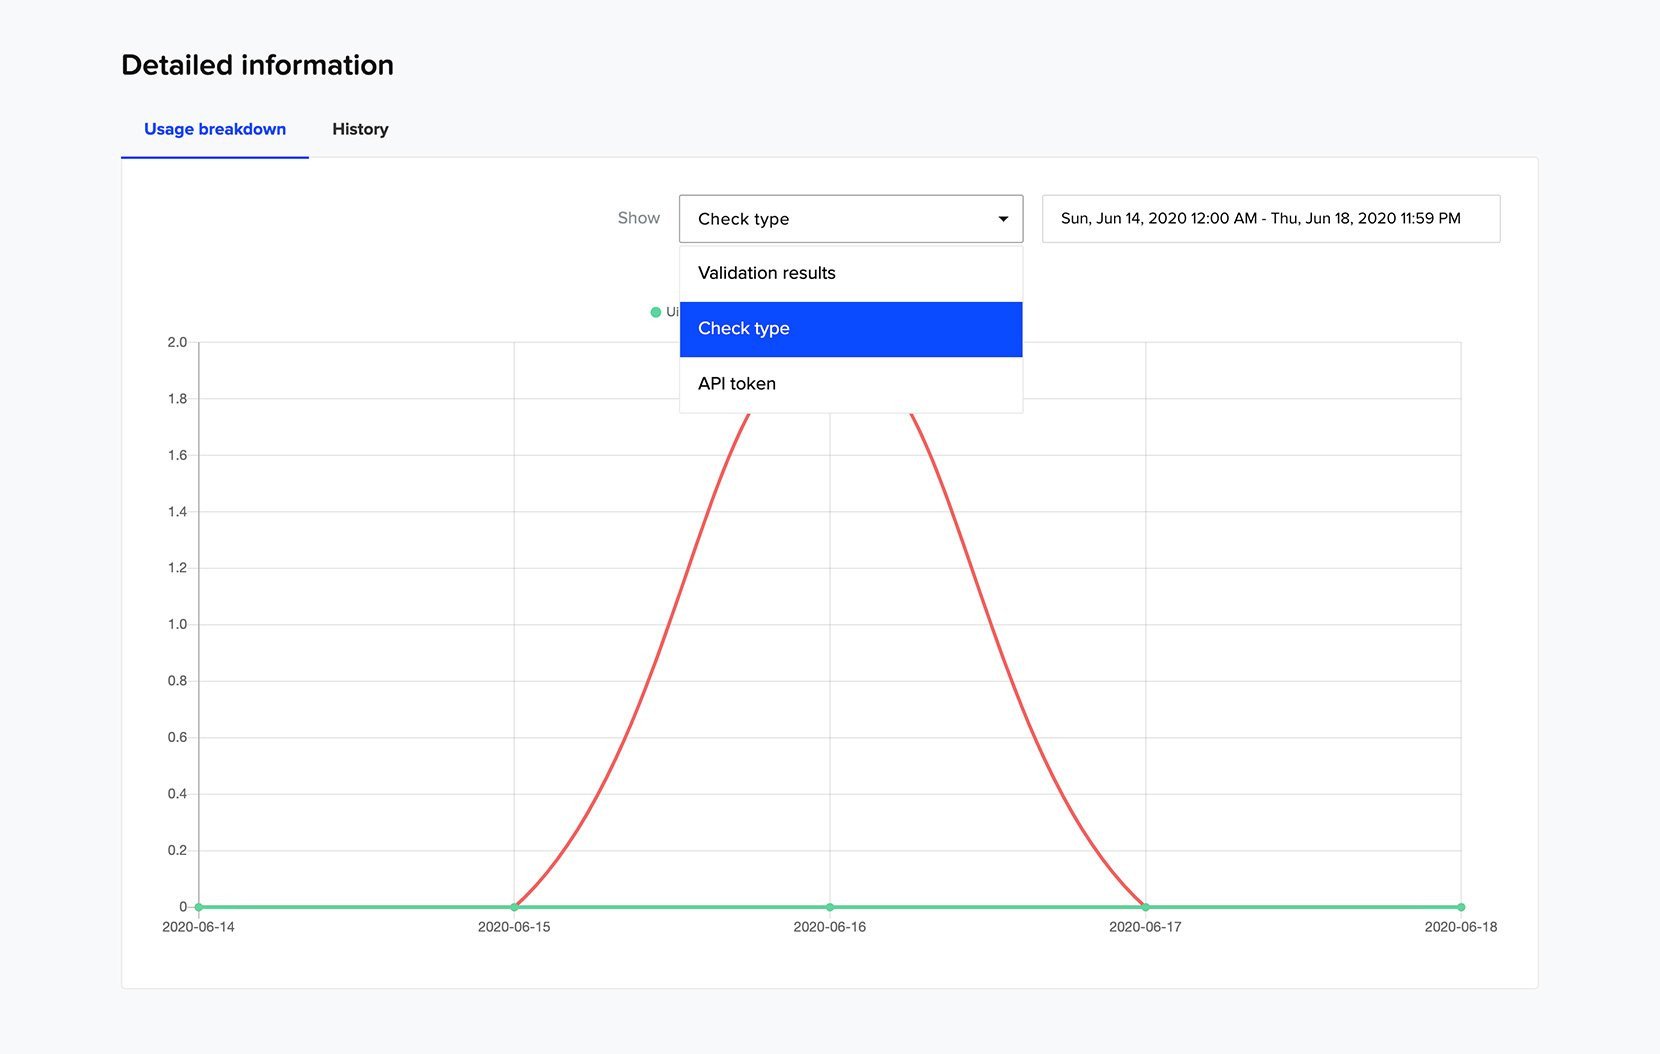
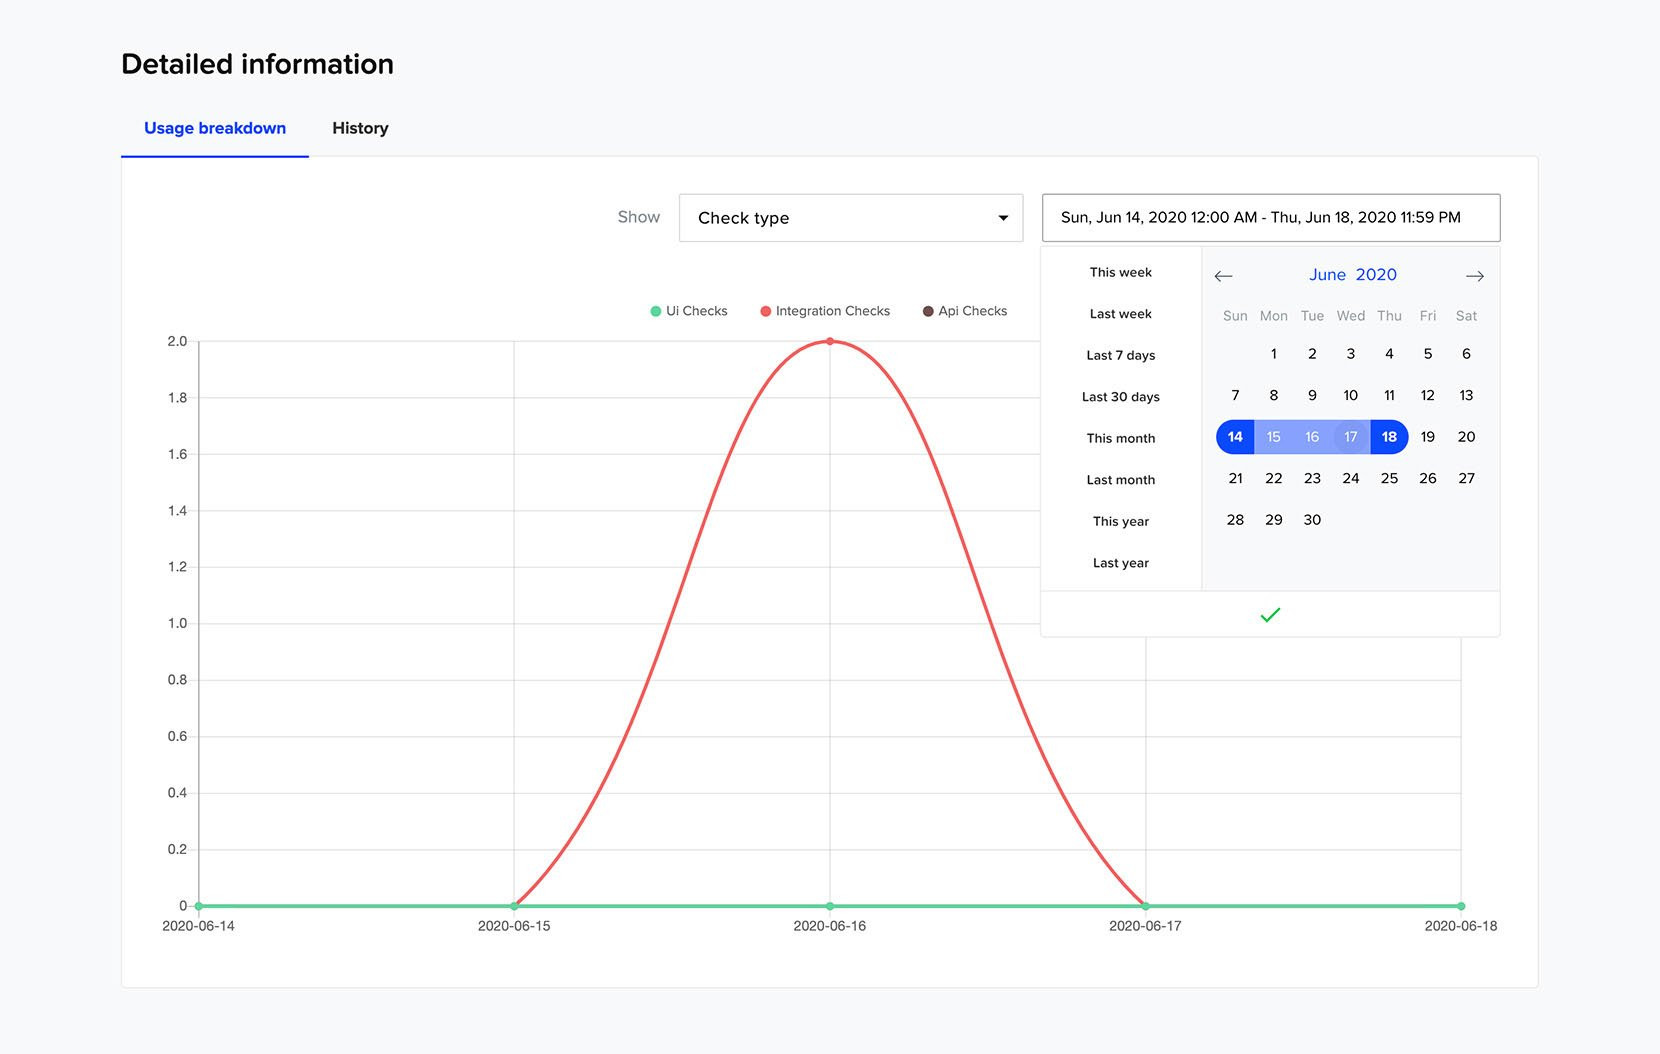
Usage breakdown by check type
To view how many times you’ve verified a list of emails by the source of the list (UI upload, Integration import or API connection), take a look at the Check type report.
To view this report:
-
1
Go to the Usage report
-
2
Scroll to the Detailed information section
-
3
Choose Usage breakdown
-
4
Select Check type from the Show menu
-
5
Above the chart area, you will find the different sources an email list can be added to your MailerCheck account. Each source is represented by a unique color, which will be the line color in the chart. You can toggle these lines on/off by clicking on the source name.
-
6
By default, the report shows the data for the last 7 days. To change this, click on the date range to open the date picker.
-
7
Choose from the predefined date ranges or use the calendar view to choose your custom date range.
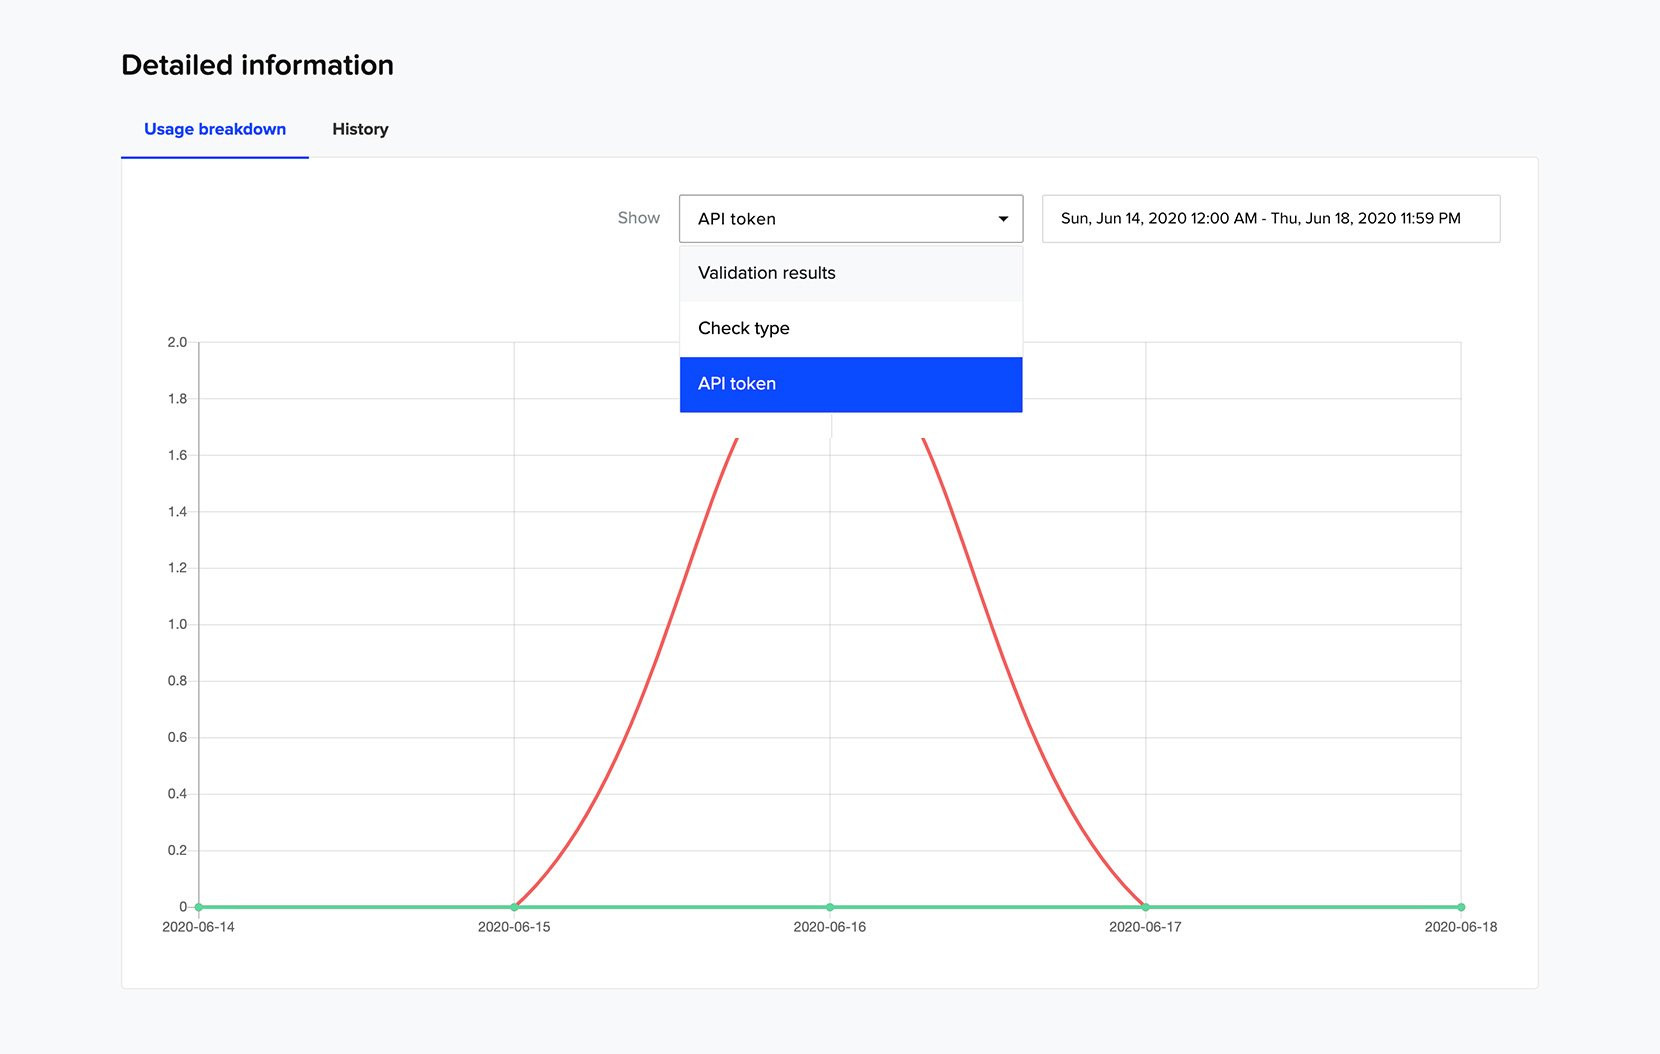
Usage breakdown by API token
If your MailerCheck account is connected to multiple applications through an API token, here’s where you can view how often a specific API token is used to validate your lists.
To view this report:
-
1
Go to the Usage report
-
2
Scroll to the Detailed information section
-
3
Choose Usage breakdown
-
4
Select API token from the Show menu
-
5
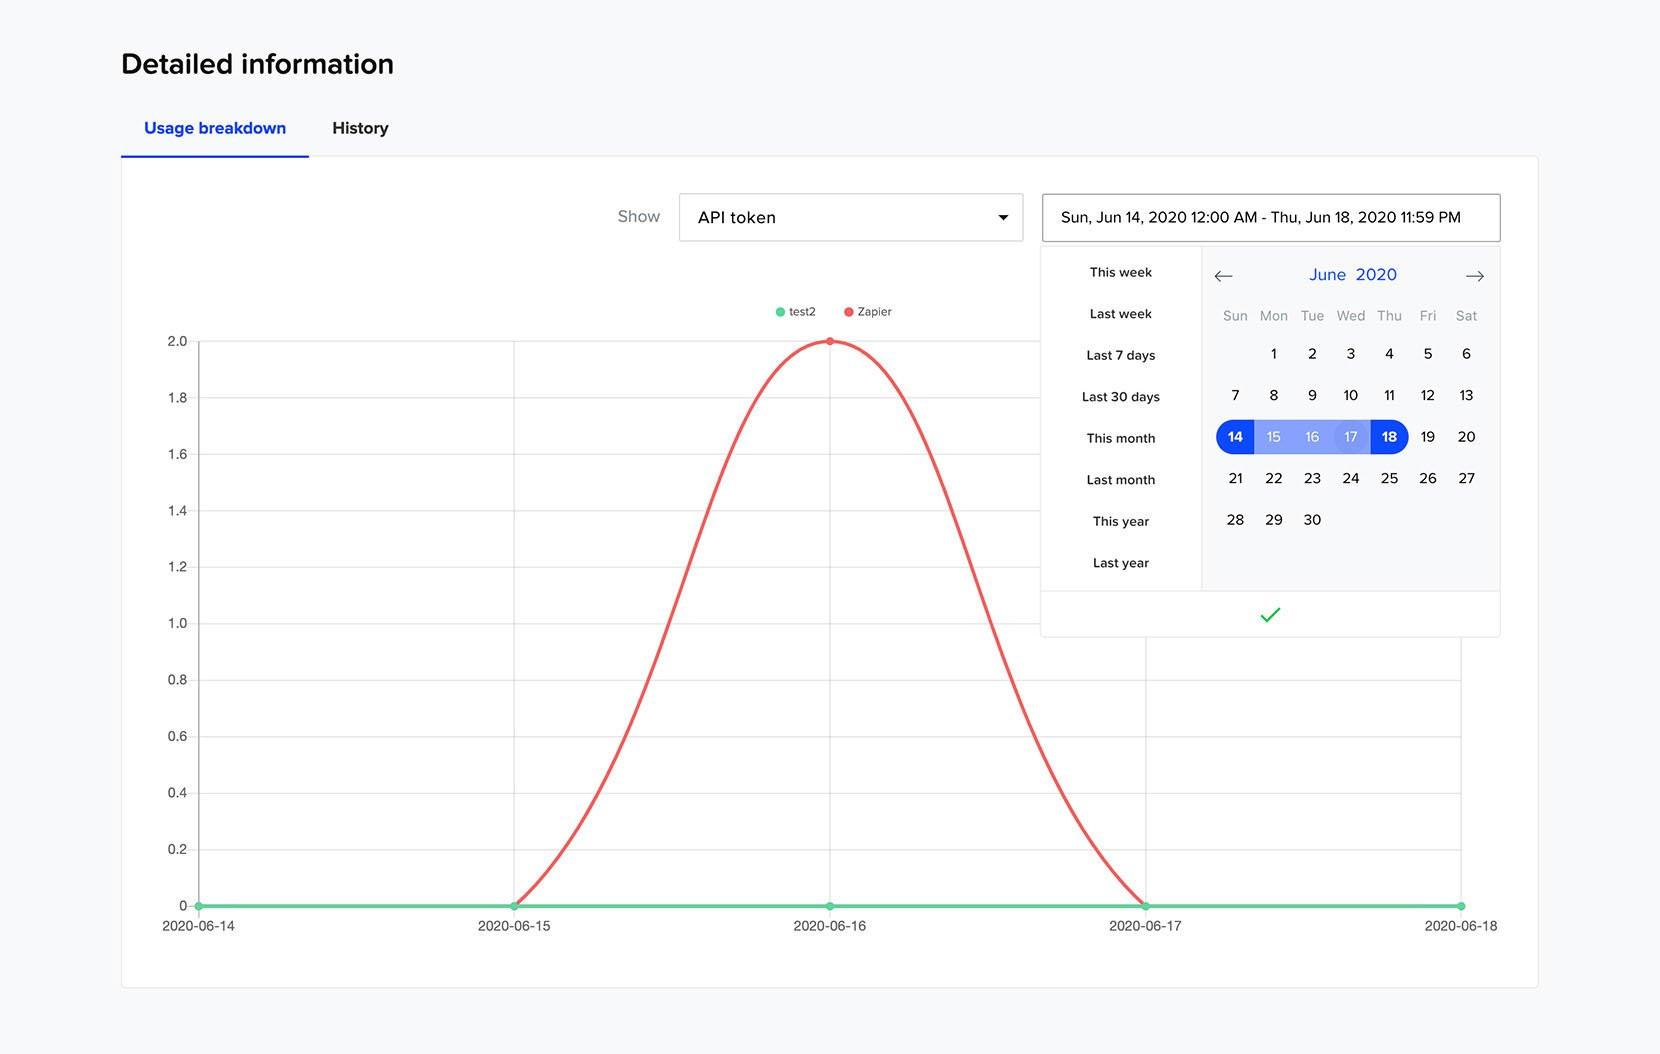
Above the chart area, you will find all of the API tokens active in your MailerCheck account. Each token is represented by a unique color, which will be the line color in the chart. You can toggle these lines on/off by clicking on the API token name.
-
6
By default, the report shows the data for the last 7 days. To change this, click on the date range to open the date picker.
-
7
Choose from the predefined date ranges or use the calendar view to choose your custom date range.
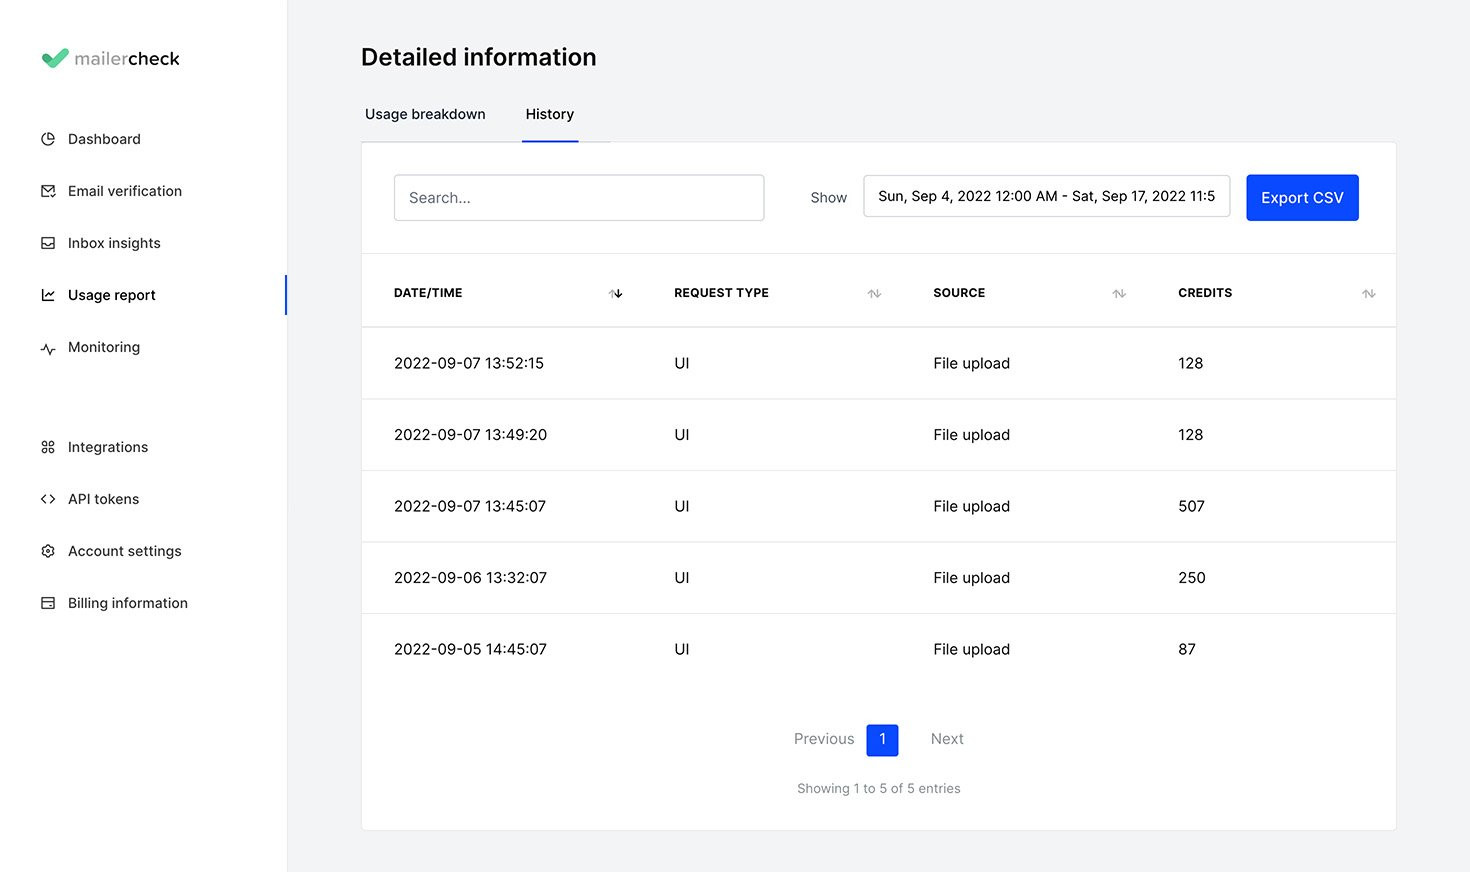
History
The History report provides you with a transactional overview of all lists verified in your MailerCheck account, regardless of the source of the list.
With this report you are able to view when a list was validated, where the list came from and how many credits were charged during the validation process.
To view this report:
-
1
Go to the Usage report
-
2
Scroll to the Detailed information section
-
3
Choose History
-
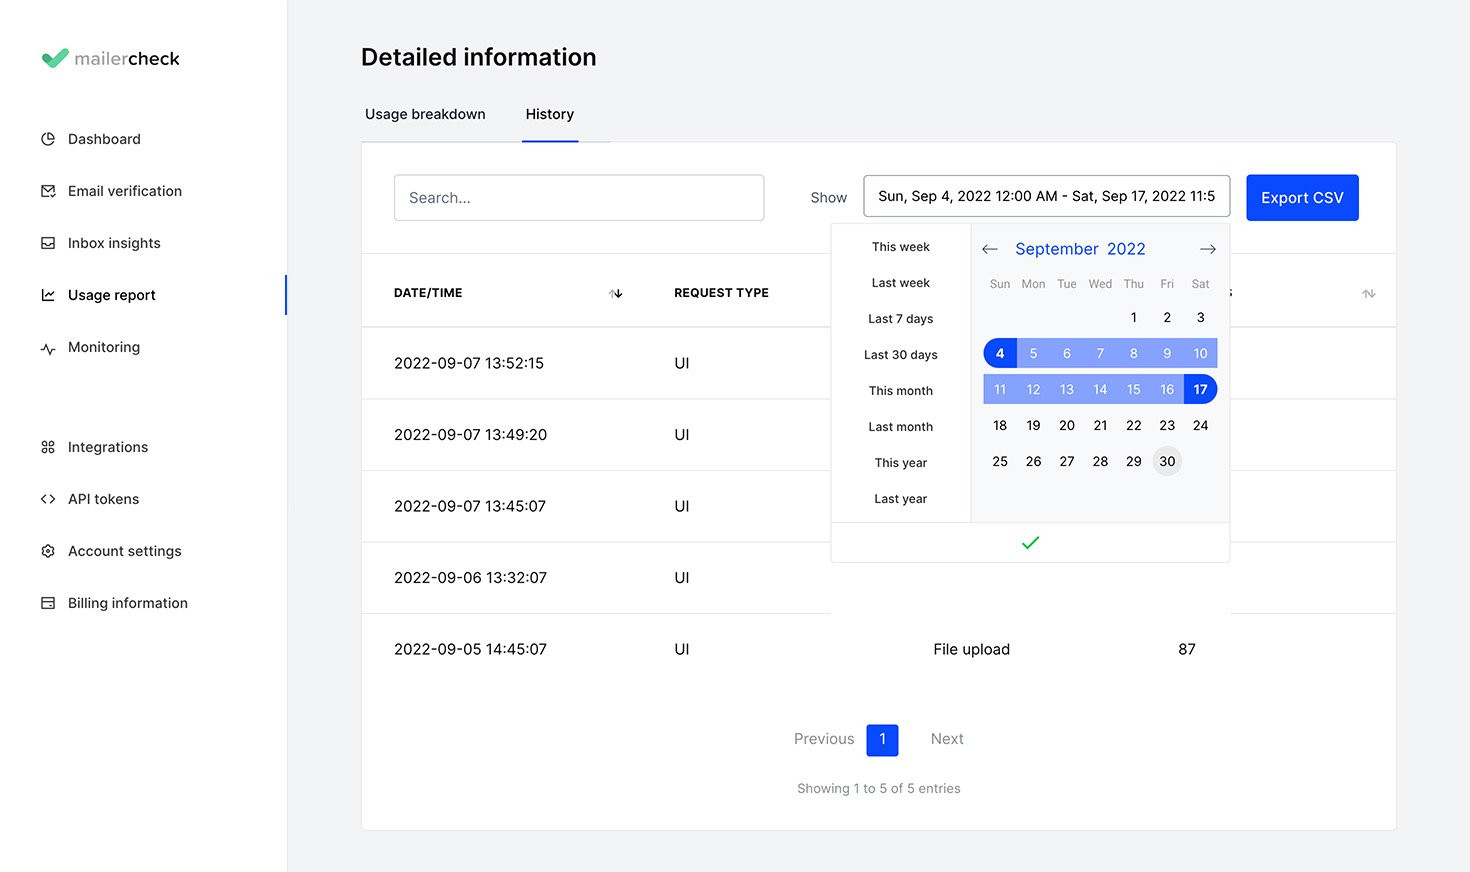
4
By default, the report shows the data for the last 7 days. To change this, click on the date range to open the date picker.
-
5
Choose from the predefined date ranges or use the calendar view to choose your custom date range.
Within the History report you can also:
Search by any of the columns (date, request type, source, credits)
Sort the list by clicking on a specific column name
Export the view as a CSV file